Export
Notion Export
Seamlessly connect Web Highlights to Notion and export pages and highlights directly to your workspace.
How it works
Connect to Notion
In the Web Highlights app, open Settings → Integrations and connect Notion. You will be redirected to Notion to grant permission. This step is necessary to enable direct sending of your highlights and notes to Notion.Allow access to at least one Notion page
Once you click on 'Integrate with Notion', you will be redirected to Notion where you need to grant access to at least one of your Notion pages. Select one of your pages and click 'Allow access'.Select a Page
Once connected, you can select from the pages you granted access to. This is where your highlights will be stored. Choose the desired page, and it will appear above.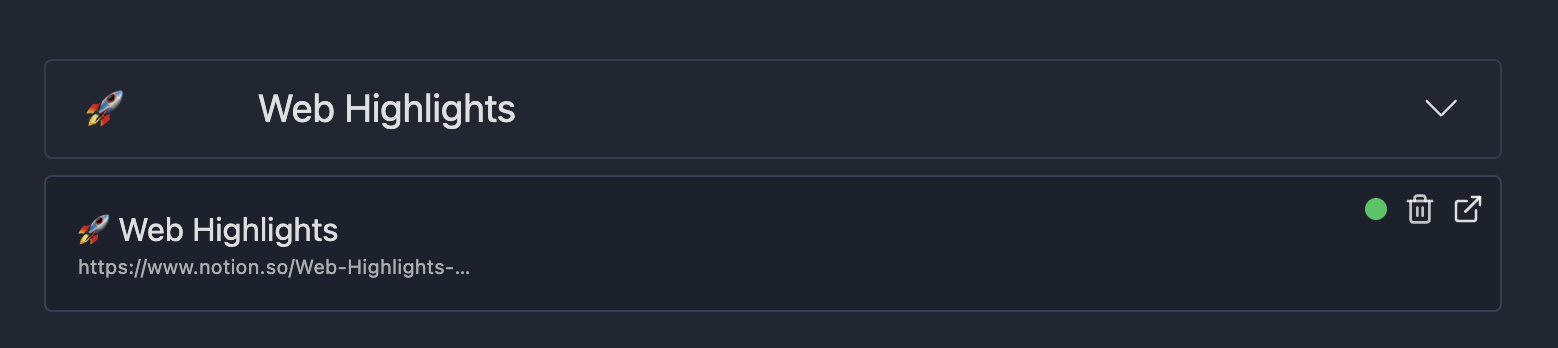
Send to Notion
Navigate to any highlighted page and click the three dots in the sidebar. Select "Export to Notion." Within a few seconds, your Notion page will be created.
Open in Notion
Once the page is created, an "Open in Notion" button will appear on your highlighted page. Click this button to directly open the Notion page in your browser.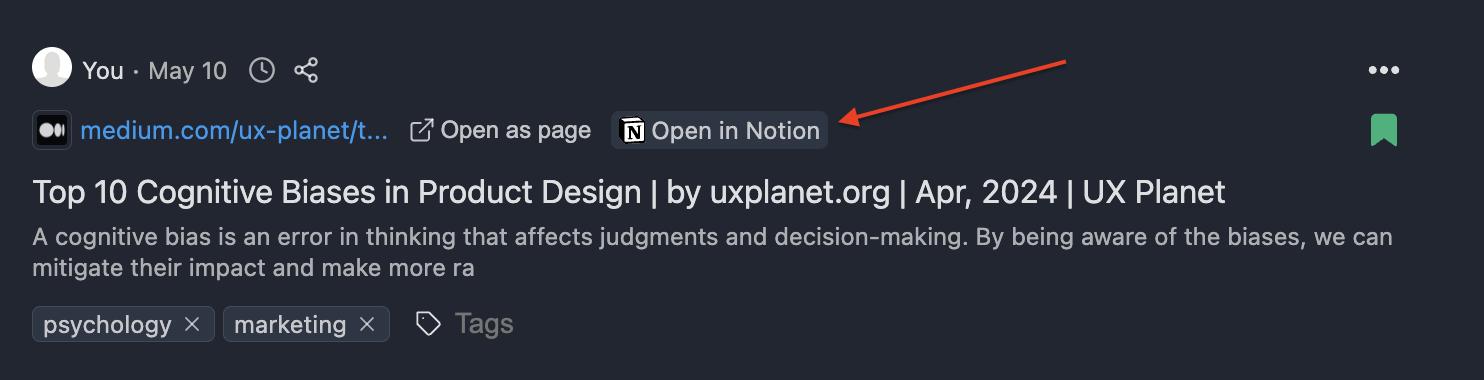
Learn more
Read the full walkthrough on our blog: Notion Export guide
Try it in Web Highlights
Open the app and go to Settings → Integrations to use this integration — the same steps as on this page.
Open Web Highlights