Organize Your Second Brain: Part 1 — How to Use the PARA Method
Feeling overwhelmed by digital chaos? Explore the PARA Method by Tiago Forte and learn how to organize your digital second brain for a more productive life!

Do you ever feel like your digital world has become a “digital junkyard”?
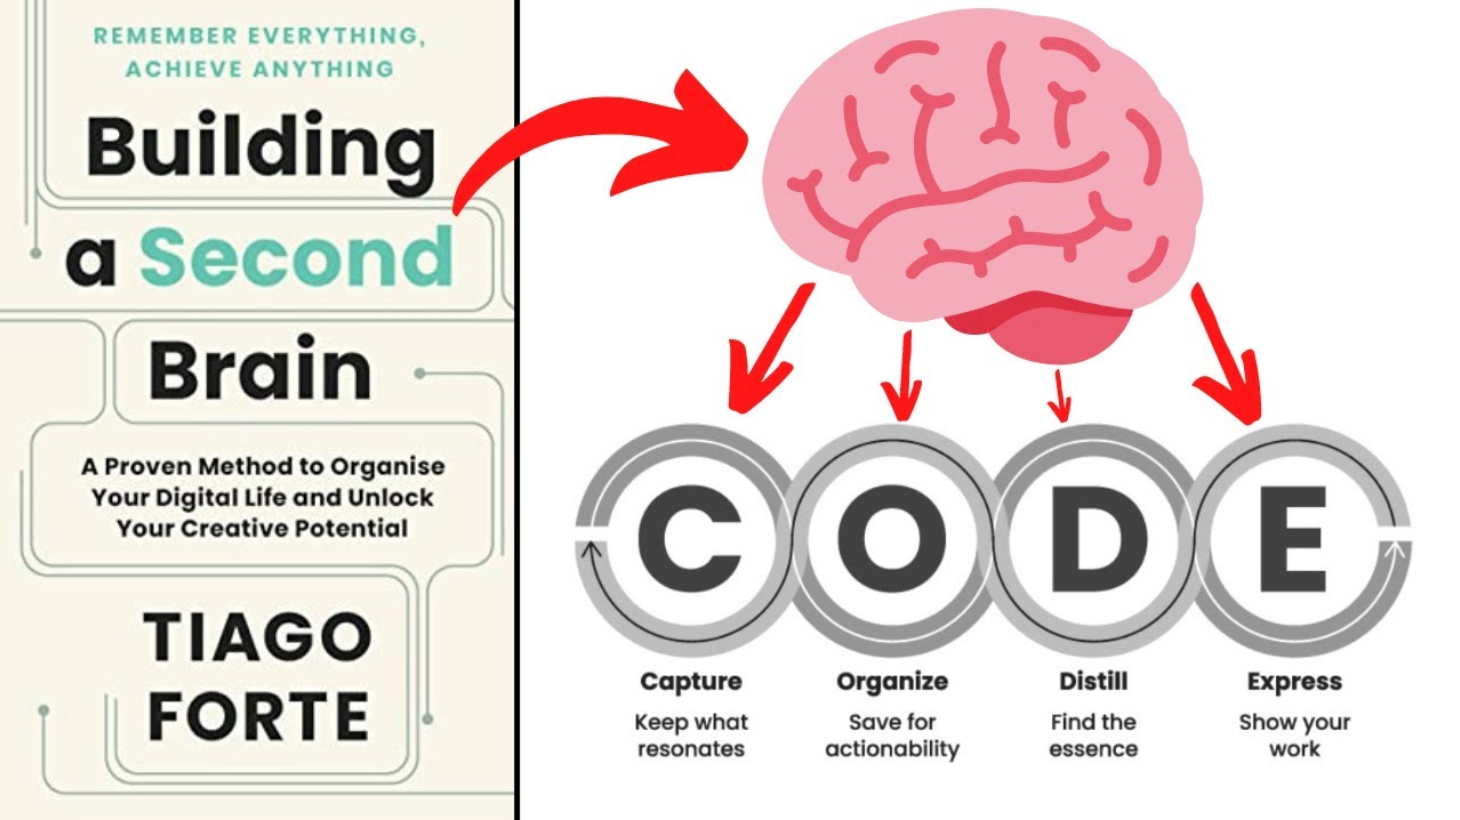
Tiago Forte, author of Building a Second Brain, says that most people overcomplicate their note-taking and knowledge management systems.
That’s why Forte invented the PARA Method, which is “a simple, comprehensive, yet extremely flexible system for organizing any type of digital information across any platform” — fortelabs.com.
In this article, I will introduce you to Forte’s powerful second brain framework, explain the PARA method, and then use it with some practical examples and apps. Let’s dive in!
This article is part of the Second Brain Framework series. You can find the second part, which dives into the CODE technique, here.

What is a Digital Second Brain?
When I first started reading “Building a Second Brain,” I figured it was just another tactic for sorting out my digital life, and I wasn’t anticipating much from it. To my surprise, Tiago Forte actually convinced me to rethink how I organize my digital life completely.
The main idea of using a “Second Brain” and its PARA Method, which I will explain in the next section, is to organize your information by actionability rather than by topic.
For example, instead of placing an internet bill into a general invoices folder, you would put it into “Taxes 2024” so that it’s readily available when you need it.
Your mind is for having ideas, not holding them. — David Allen (Author of Gettings Things Done)
Another benefit is that your “Second Brain” frees up your “First Brain” to focus on creativity instead of being weighed down by trying to remember everything.
For instance, instead of trying to recall all the details of a project, you can store them in your second brain and use your mental energy to brainstorm innovative ideas.
The PARA Method: What Does PARA Stand For?
Tiago Forte’s PARA method is a universal framework that functions with any note-taking tool and suits everyone.
PARA is an acronym and stands for:
- Projects
- Areas
- Resources
- Archives
The great thing about the PARA method is that it organizes information based on how actionable it is, not what kind of information it is.
PARA can handle it all, regardless of your profession or field, for one reason: it organizes information based on how actionable it is, not what kind of information it is. The project becomes the main unit of organization for your digital files. — Tiago Forte in Building a Second Brain
This makes it incredibly versatile and practical for anyone, regardless of their profession or field.
Projects
Projects are the most actionable items. Whenever you want to save some information in your second brain, you can ask:
- Does the information have an end date or a specific time frame?
- Is there a specific outcome that you’re trying to achieve with the information?
If you can answer “yes” to those questions, you should save the information as a Project in your digital second brain.
Our notes are things to use, not just things to collect. — Tiago Forte
💡 Example: If you’re planning a vacation, you might create a project folder named “Summer Vacation 2023.” This folder would contain all your travel information, including itineraries and bookings, and it would have a clear start and end date with the specific goal of having a great holiday.
Areas
If the information isn’t directly tied to a project, the next question to ask is:
- In which area will this be most useful?
Creating an Area for many things is tempting, so always try to create a project first. For example, adding an invoice to the Finance area might seem logical, but it might make more sense to put it into the Project “Taxes 2024.”
Areas are long-term responsibilities and activities that you want to manage over time.
This way, you’ll have the document readily available when you need it: during tax season for 2024.
💡 Example: If you’re managing your personal finances, you could have an area named “Finances.” This area would include all of your information for personal finance.
Resources
If your information doesn’t fit into a project and also not in an area, ask:
- Which resource does this belong to?
Resources are a catchall for anything that doesn’t belong to a project or an area and could include any topic you’re interested in. This could be a resource like productivity, note-taking, or studying.
Similar to Areas, you should always try to put information into projects first.
💡 Example: If you read a lot about improving your productivity, you could create the “Productivity Tips.” Then you can put everything you read about productivity into this folder.
Archives
The Archive stores things that are either done or no longer in use. We usually archive projects because they have a clear end date, but resources often get archived too.
Remember, anything in the Archive isn’t lost!
In the digital world, you can still easily find everything with a quick search. So, it’s always a good idea to move things to the Archive to keep your Second Brain organized.
Forte even recommends starting by archiving everything to give yourself a clean slate. You’ll likely be surprised by how much-archived information you never need again.
It is a good idea to regularly review your active projects, as some may have finished and need to be moved to the Archives.
💡 Example: Once you’re done with your “Summer Vacation” project, you can move it to the Archives since it’s finished. But if you ever need any info from it again, you can still easily find it.
Using Web Highlights with the PARA Method
Now that you understand the PARA method, let’s talk about how Web Highlights can help you implement it seamlessly.
What is Web Highlights?
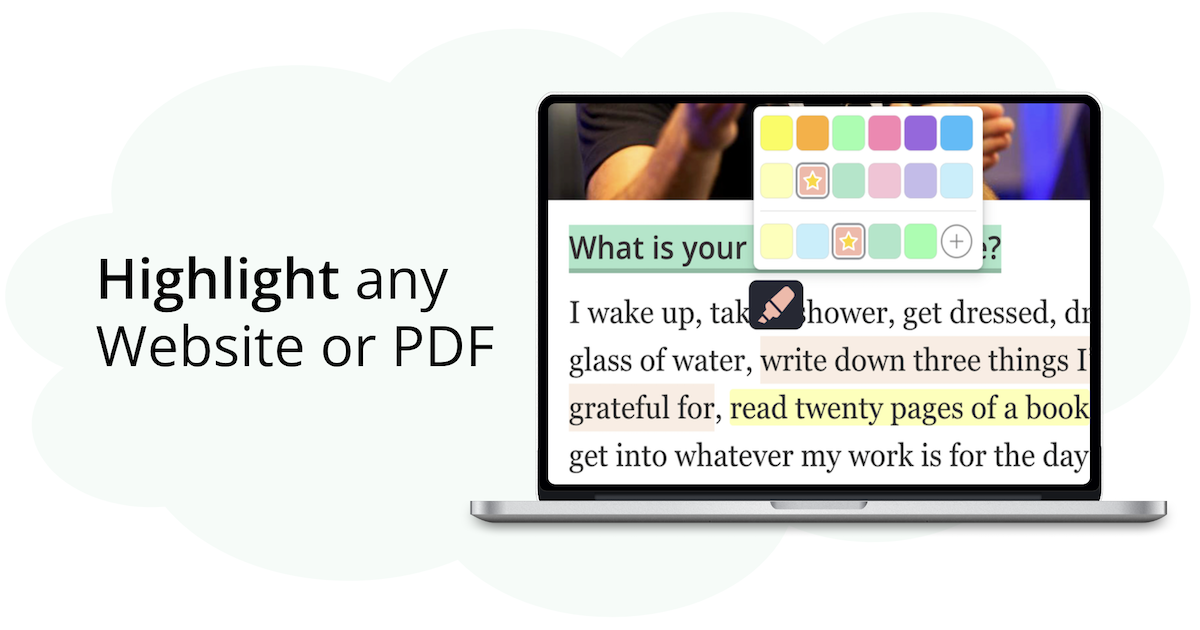
Web Highlights is a powerful Chrome extension that allows you to highlight text on any website or PDF, take notes, create tags, and save bookmarks.
It’s the ideal app for organizing your second brain, designed to keep you on organized and boost productivity by helping you capture and manage information from websites and PDFs effectively.
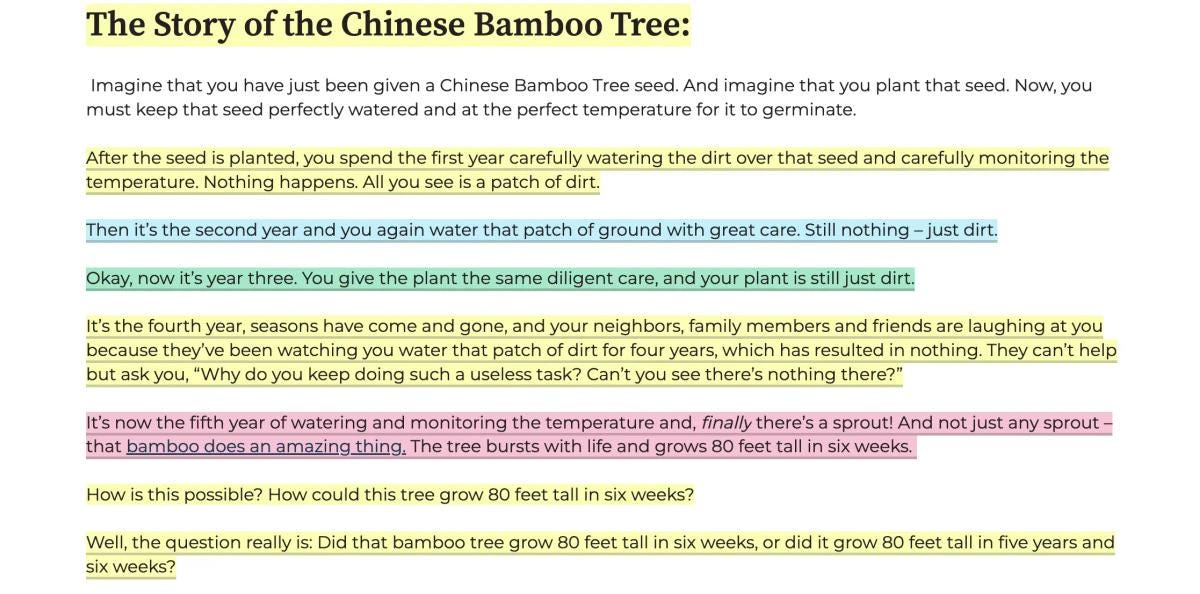
You can use it offline for free or sync your highlights to the cloud with a premium account, making it accessible from any device.
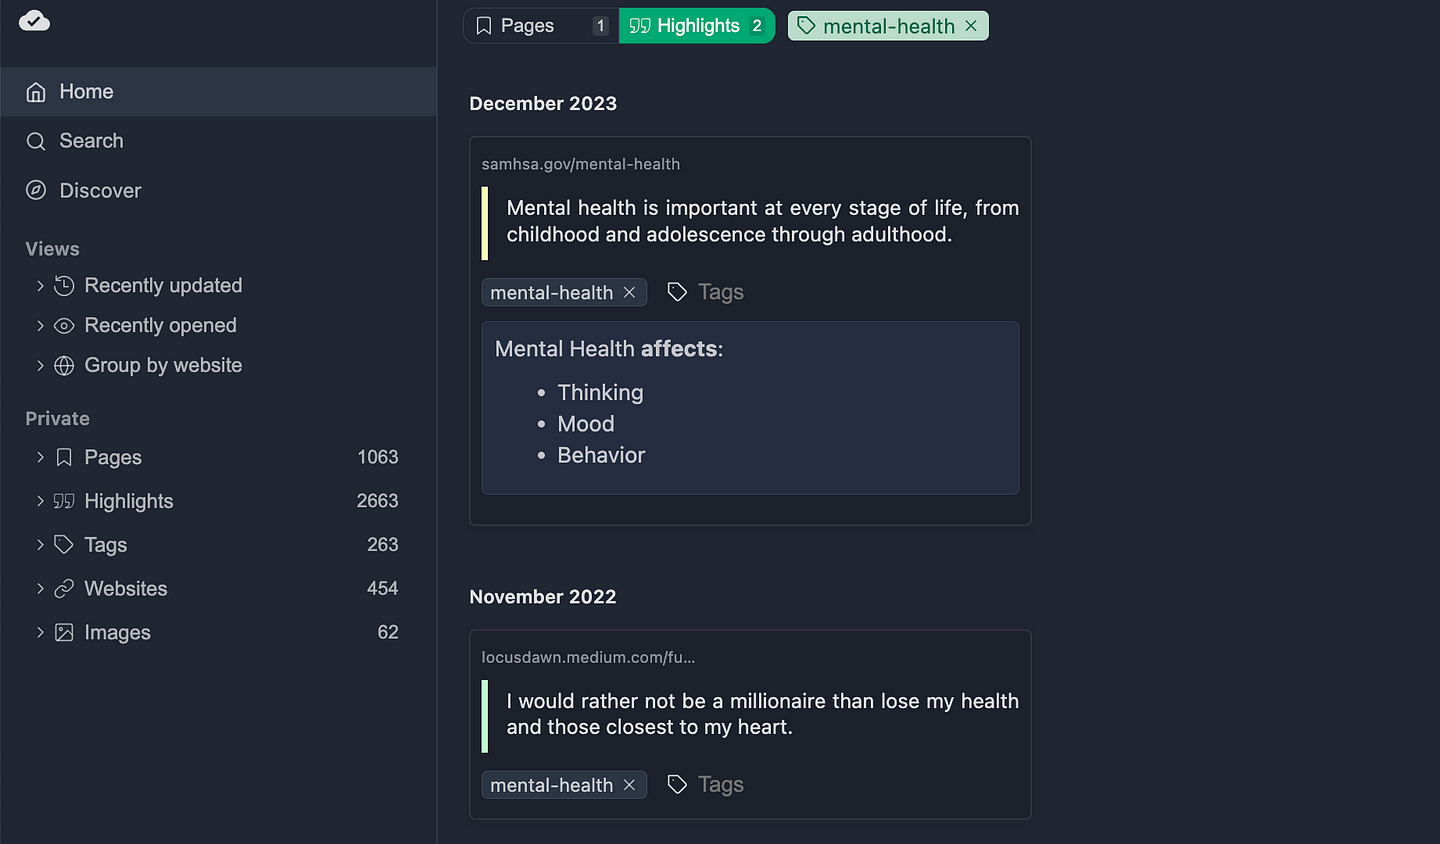
With features like multiple highlight colors, full-text search, and export options to tools like Notion and Obsidian, Web Highlights is the perfect tool for the capture phase of your second brain.
Setting Up Web Highlights
Firstly, you need to install the Web Highlights Chrome Extension. You can find it in the Chrome Web Store or Microsoft Edge Store.
After installing, pin the extension symbol by clicking the “Extensions” symbol in the top-right corner of your browser and clicking the “Pin” icon to have it always reachable.
Using Tags to Sort into PARA
Web Highlights offers a powerful tagging system that perfectly aligns with the PARA Method.
You can create tags and notes either through the sidebar or by clicking on a highlight on the page. This will open a popup where you can easily add tags and notes to a specific highlight.

Here’s how you can use the tagging system in Web Highlights to sort your articles and highlights into the PARA method:
- Projects: Tag your highlights with “project + [project name]”. For example, “project + Write Article About Second Brain”.
- Areas: Tag your highlights with “area + [area name]”. For example, “area + Health”.
- Resources: Tag your highlights with “resource + [topic]”. For example, “resource + Productivity”.
- Archives: When you no longer need to work on a highlight actively, you can tag it with “archive + [topic]”. For example, “archive + Old Research”.
You can then filter for these tags in the Web Highlights sidebar or the web app to quickly find all related content.

Exporting Highlights
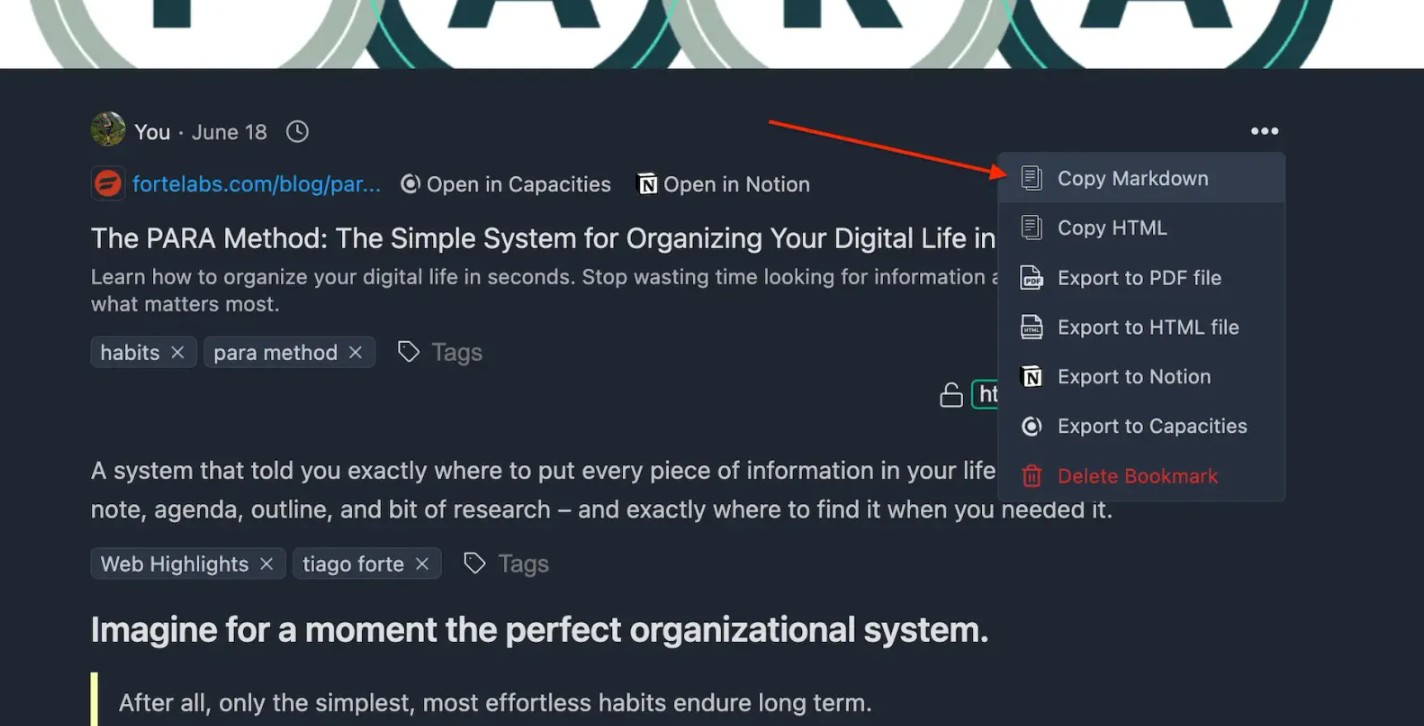
After you have created some annotations & notes, you may want to export them to other tools such as Notion, Obsidian, or Capacities.
Web Highlights offers different solutions to synchronize your notes with your favorite research tools:
- Copy Markdown & HTML
- Export to PDF & HTML files
- Export to Notion
- Export to Capacities
Simply click the three-dot menu and choose one of the options to synchronize it to a tool of your choice.
Tiago Forte himself says that his Second Brain Framework is meant to work with many different tools out there. Therefore, Web Highlights is the perfect add-on for your favorite Second Brain app.
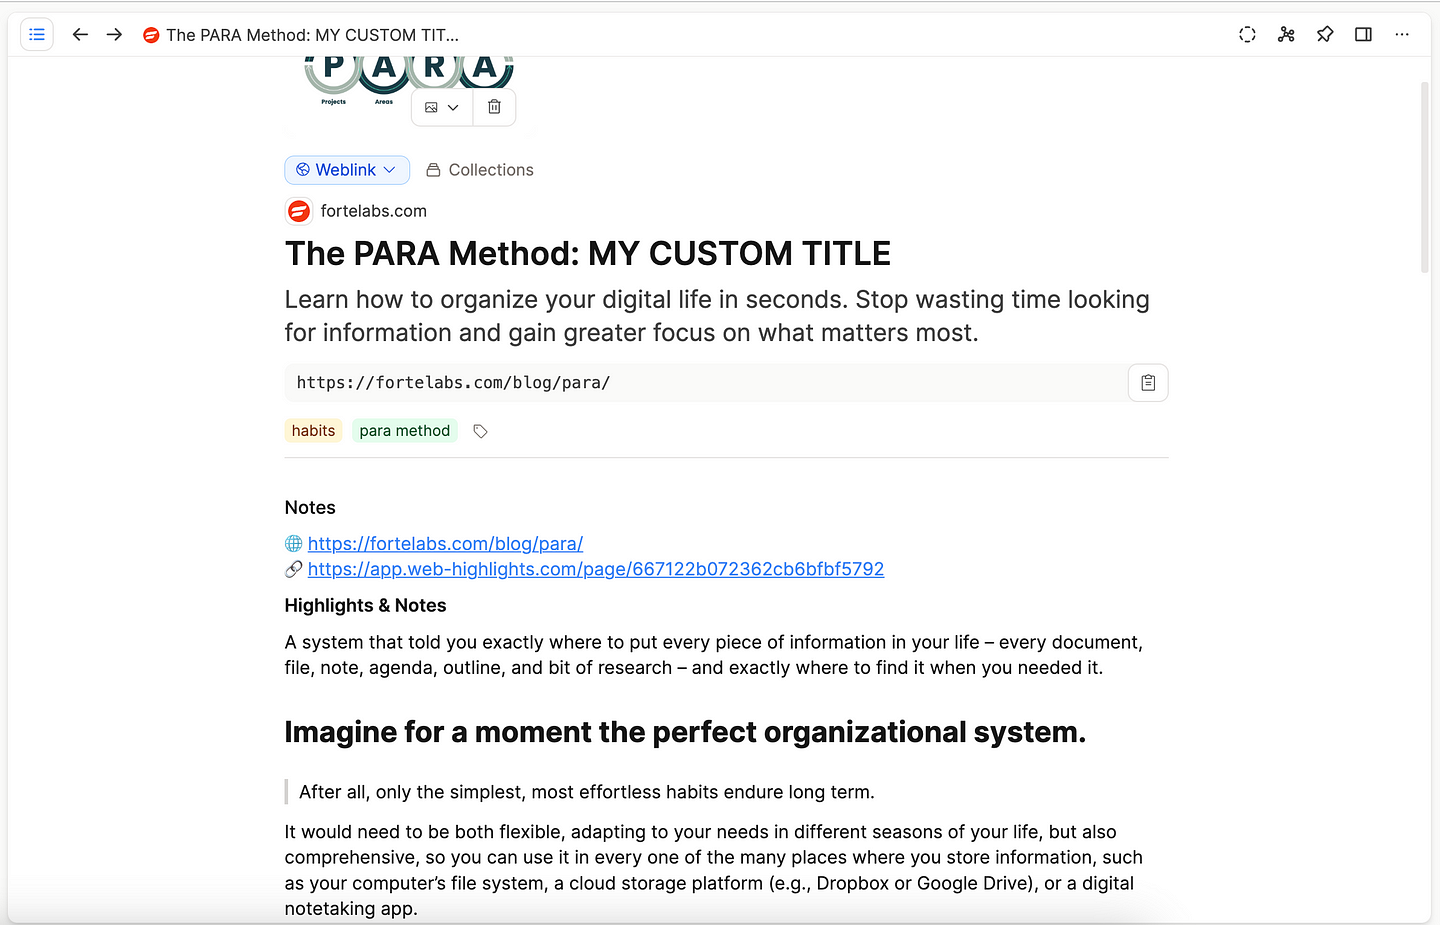
Many modern note-taking tools support the Markdown language. Therefore, you can easily export your highlights to Markdown with Web Highlights.
You could highlight important content, tag it, and then export it to your favorite note-taking app for further organization and action.
For example, here is how some exported highlights look in the Capacities app:
Final Thoughts
Building a Second Brain can drastically alter how you arrange your digital content. Tiago Forte introduces us to fantastic strategies like the ‘CODE’ technique and the ‘PARA’ method to optimize our digital content for practical use.
Web Highlights perfectly complements these strategies by making capturing, organizing, and exporting your research easy.
“Creativity is about connecting ideas together, especially ideas that don’t seem to be connected.” — Tiago Forte
So, give the PARA method a try with Web Highlights and see how it can enhance the organization of your digital world. Happy highlighting!
Thanks for reading! 😊 I always appreciate feedback. Connect with me on LinkedIn or Twitter, or drop a comment.
Read More About Tiago Forte’s Second Brain Framework here.


