Summarize with Tiago Forte’s Progressive Highlight Technique
Do you ever make notes or highlights and never revisit them? It often feels like everything we read is crucial, but we're encountering it at the wrong time.


Have you ever made notes or highlights on a book or article and never looked at them again? It often feels like everything we read is important, but we’re just encountering it at the wrong time.
What is difficult is not transferring content from place to place, but transferring it through time. — Tiago Forte
In this article, I will show you how can you can use Tiago Forte’s Progressive Highlighting technique to make your highlights more useful and actionable for the future.
Who is Tiago Forte?
In his book Building a Second Brain, Tiago Forte describes important concepts of how to better organize your digital life.
Tiago believes that many people overcomplicate their note-taking and knowledge management systems because they don’t have a framework that helps them decide where things should go.
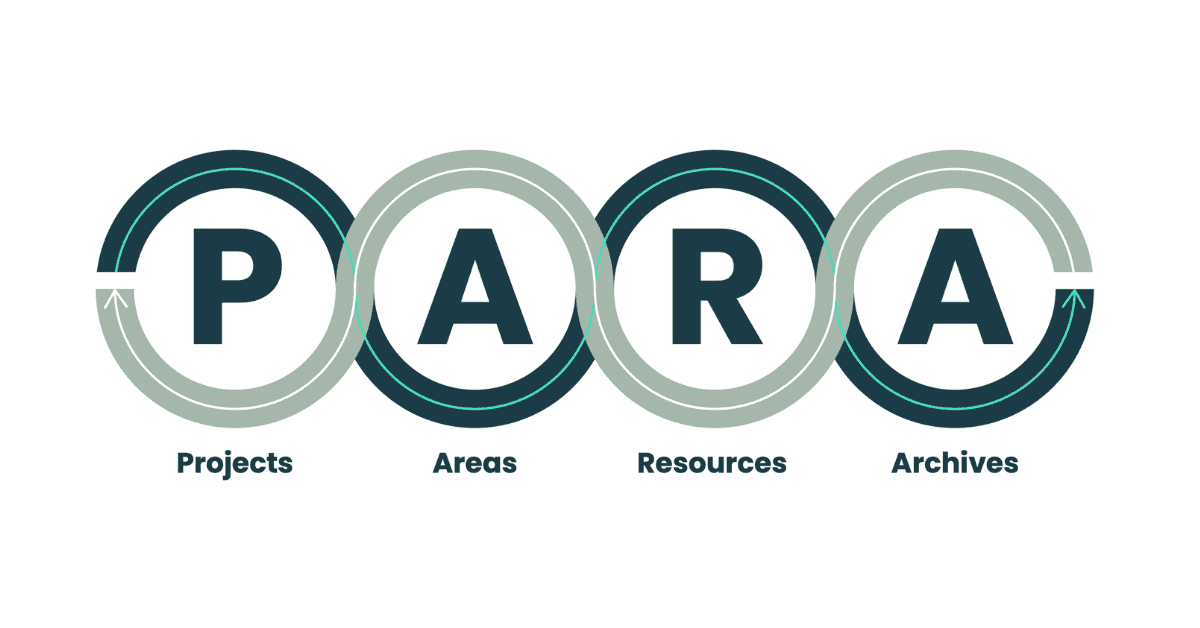
That’s why he came up with several ideas to improve how you manage your knowledge systems. One of his inventions is the PARA Method, which is described as “a simple, comprehensive, yet extremely flexible system for organizing any type of digital information across any platform” — fortelabs.com.
Another technique is the Progressive Summarization Technique, helping you to get the most out of your notes.

PARA-Method
The Progressive Summarization Technique
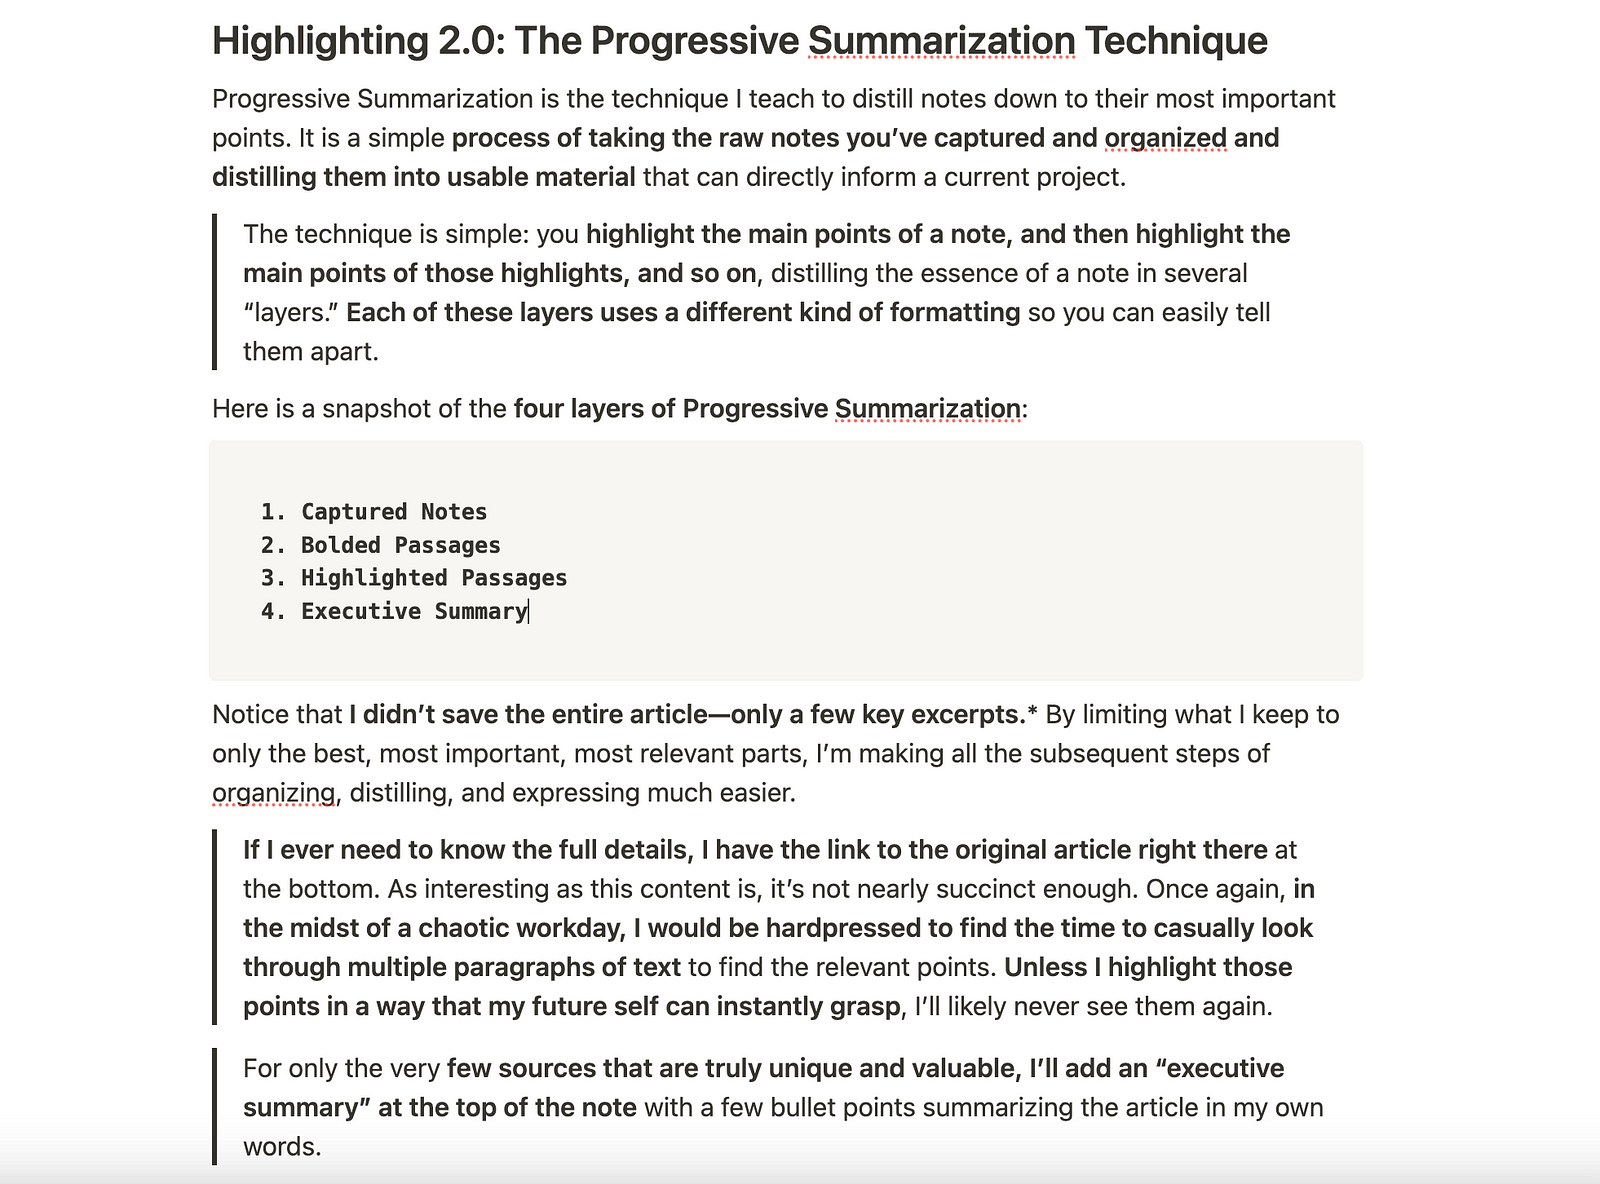
The Progressive Summarization Technique is a technique “to distill notes down to their most important points.”
It is a simple process of taking the raw notes you’ve captured and organized and distilling them into usable material that can directly inform a current project. — Tiago Forte in Building a Second Brain
We can do that by taking advantage of a habit that we are all familiar with — highlighting.
The technique is easy:
- first, you highlight the main points of an article.
- then, you mark the key points within those highlights,
- keep doing this until you’ve compressed the note into multiple “layers.”
Each layer uses a different style, so you can easily see the difference. Tiago Forte defines four layers of Progressive Summarization:
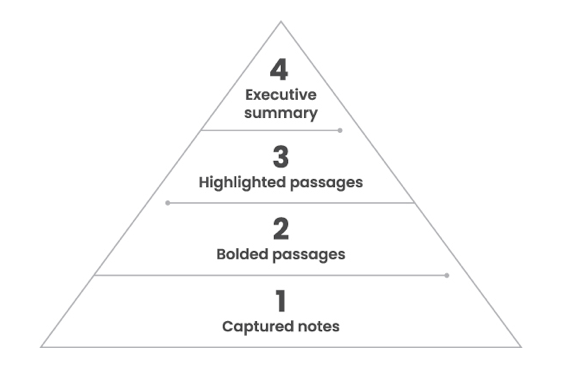
1. Capture Notes
The first layer is to initially capture your notes. There are different tools to capture your content:
- A browser highlighter such as the PDF & Web Highlighter Chrome Extension
- Highlighter for eBook readers (e.g. Kindle highlighter)
- Built-in highlighter features, like those found on Blinkist or medium.com
- Web clippers such as Evernote, OneNote, or Notion Web clipper
For example, when I read the book “Building a Second Brain” I used the Kindle highlighter to highlight and capture important information.
Back then, I didn’t know for what this information could be useful, I just knew that it could be at some point in the future.
what you read is good and useful and very important, you’re just reading it at the wrong time. — Tiago Forte
Now, when it came time to writing this article, I revisited my Kindle library at read.amazon.com, where all my highlights and notes are stored.
Then, I used the PDF & Web Highlighter Chrome Extension to re-highlight my highlights to get them into one central place.
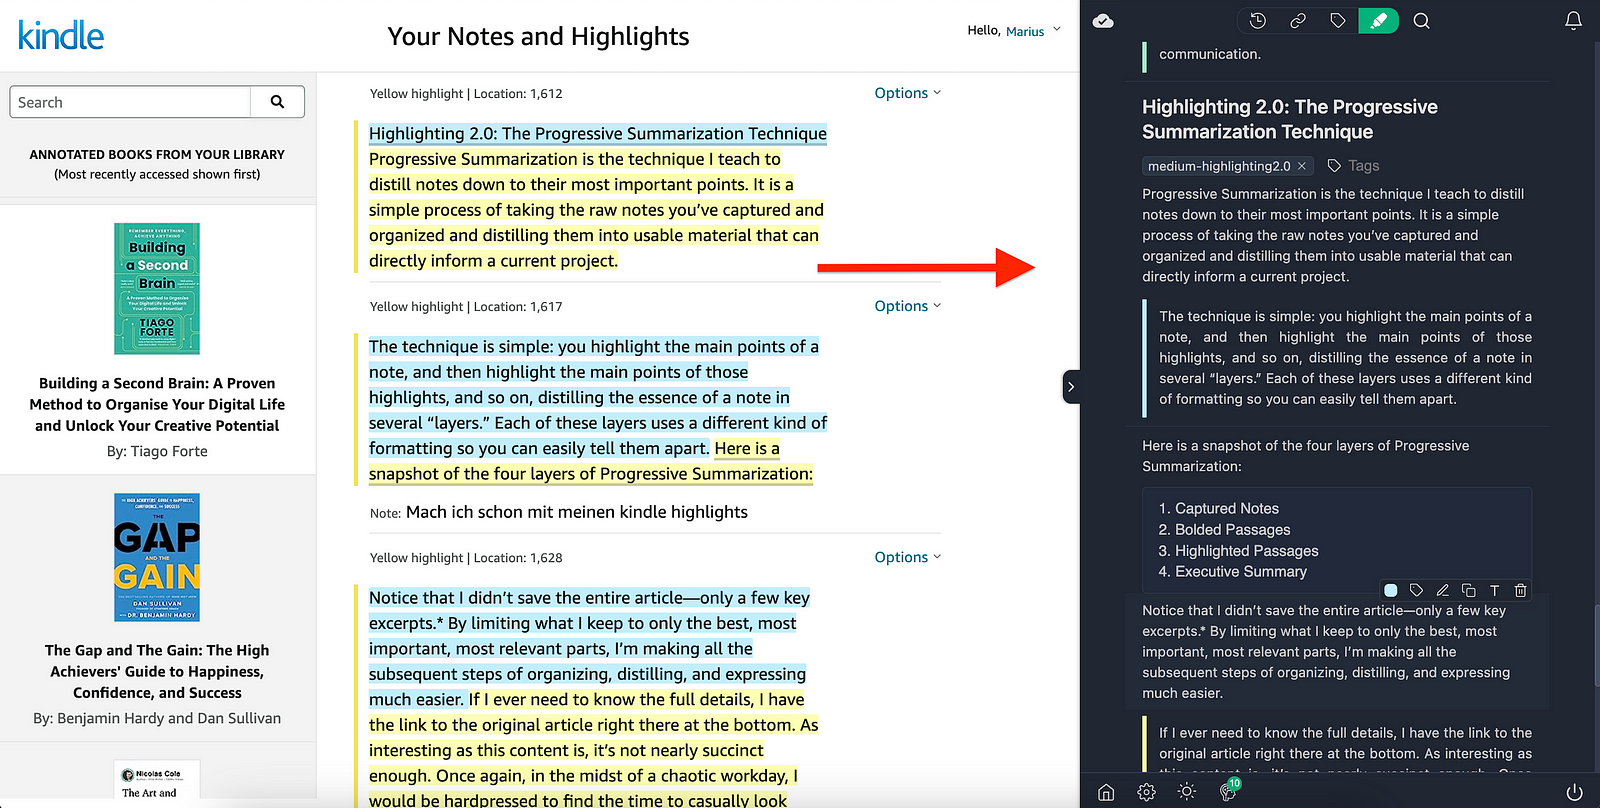
Re-highlighting my Kindle highlights already helps me to refresh my memory about the topic.
Plus, Web Highlights gives different formats like headings and blockquotes, which makes it easier to review them later when we’re putting them into our “Second Brain.”
2. Bolded Passages
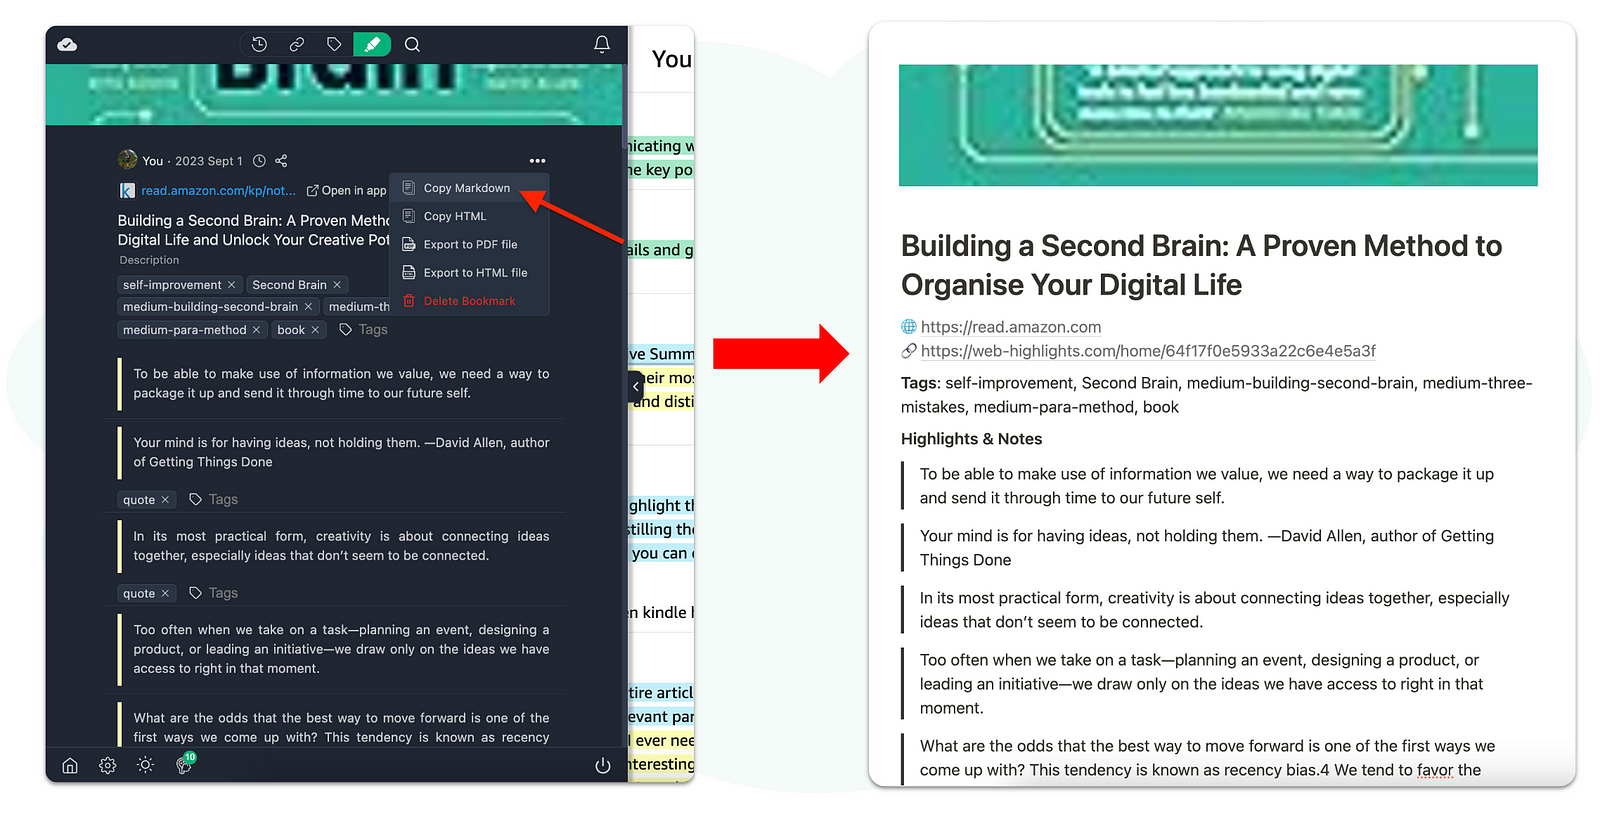
In the next step, we are extracting our highlights to the note-taking tool of our choice. This can be any tool like Notion, Obsidian, Capacities, and more.
In my case, I am using Notion as my “Second Brain” and I can easily extract all my highlights and notes to Notion using the “Export to Markdown” feature:
Now, I can easily go through my highlights & notes again and emphasize the most important parts of the article by making them bold.
Can you notice how much simpler it is to review the main points now?
Picture the gap between reading the original book parts, which might need five to ten minutes of focused reading, compared to just scanning through these bolded points, which would take less than a minute.
During a hectic workday, this could rescue us some valuable minutes. However, we’re not done yet. Let’s incorporate the third layer to enhance the practicality of our highlights even further.
3. Highlighted Passages
Some of our bolder passages are still quite long. To make these parts even more actionable, let’s add another highlighting layer to our notes.
We can use the highlighting feature of Notion to color the most important sections of our bolder passages.
Here is how this could look like in our example:

The third layer makes it very easy to understand the main points of our research very quickly. We can grasp the main message of the section in seconds.
Let’s get to the last point to make our highlights & notes as discoverable as possible by adding an executive summary.
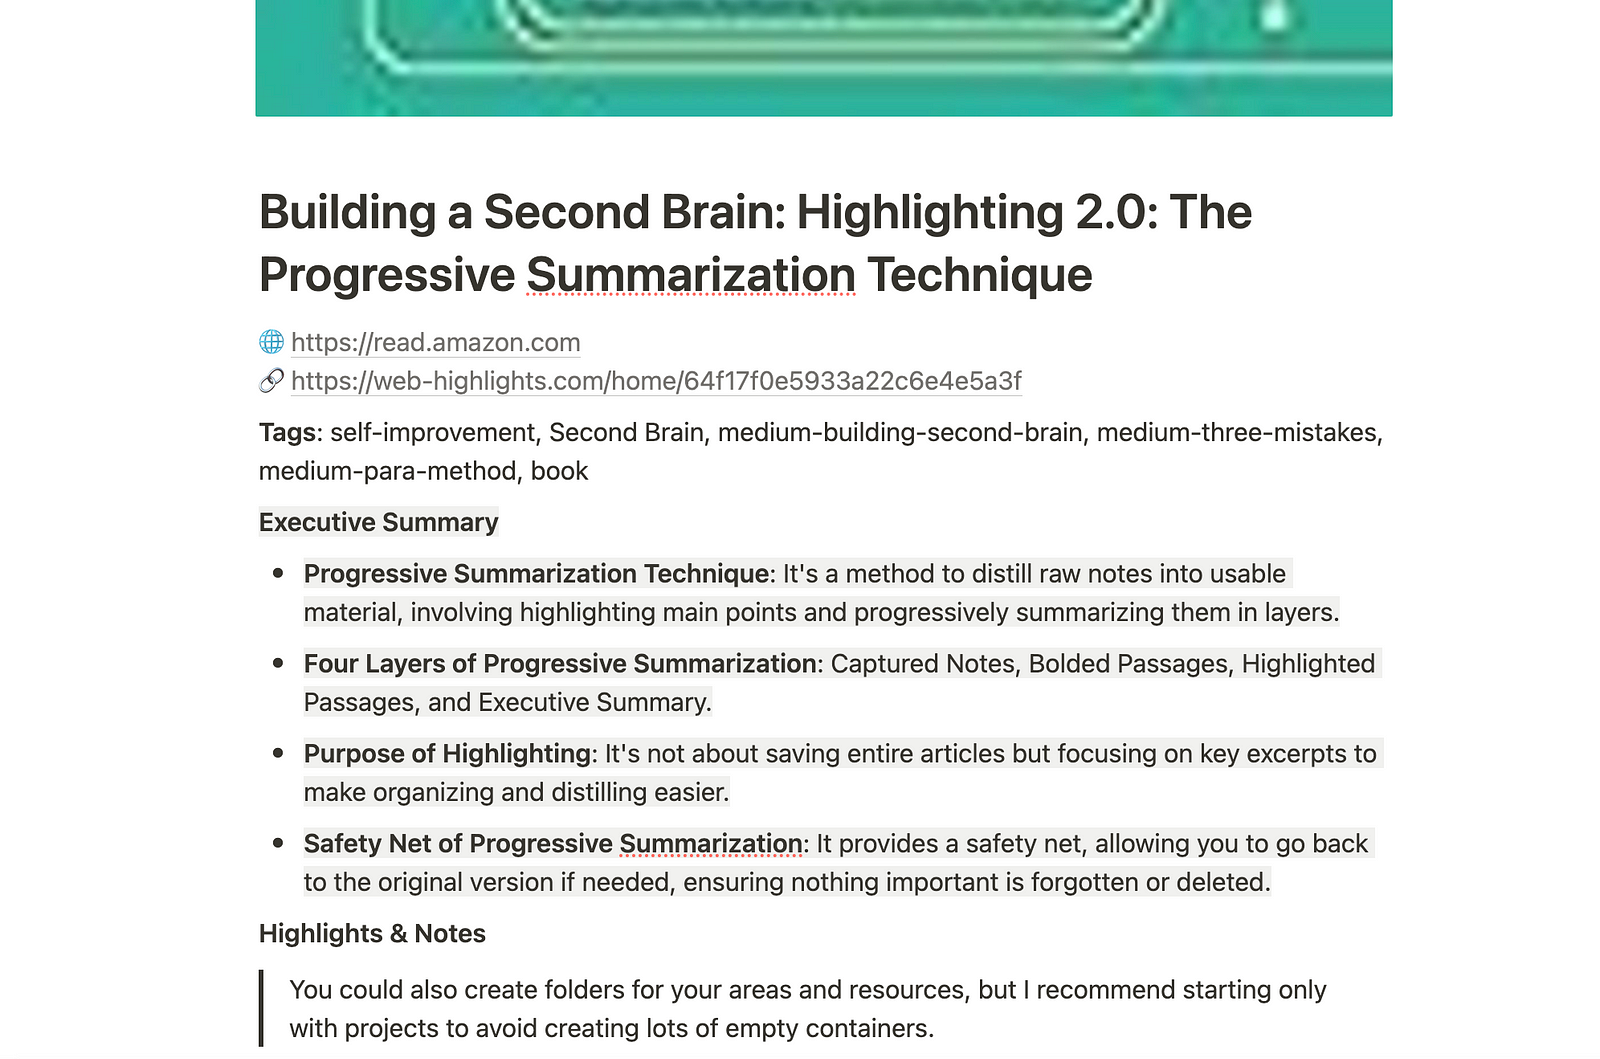
4. Executive Summary
The executive summary is an extra step we can take to grasp the main idea of an article or book more quickly.
Tiago Forte suggests it’s not always needed, but it can be useful at times. Simply review the bolded and highlighted sections, then summarize them in your own words. You could also use ChatGPT to do that, but a personal touch makes it easier for your future self to understand.
You can place this summary at the beginning of your document. Here’s how it could look like in my example:
That’s all! I hope Tiago Forte’s Progressive Highlighting Method helps you make your highlights and notes more practical.
Thanks for reading!
Want to learn more about how I scaled my Chrome Extension to 100K+ users as a solopreneur? Subscribe to my stories or follow me on LinkedIn and Twitter.