Web Highlights Tech Stack: Chrome Extension With 100k+ Users
Explore the tech stack of Web Highlights, a Chrome extension using Web Components and Vue.js for saving and highlighting web content easily.

Web Highlights is a Chrome and Edge extension created to help users highlight and save important web content. With over 100,000 weekly users, it has become a go-to tool for many who need to keep track of key information online.
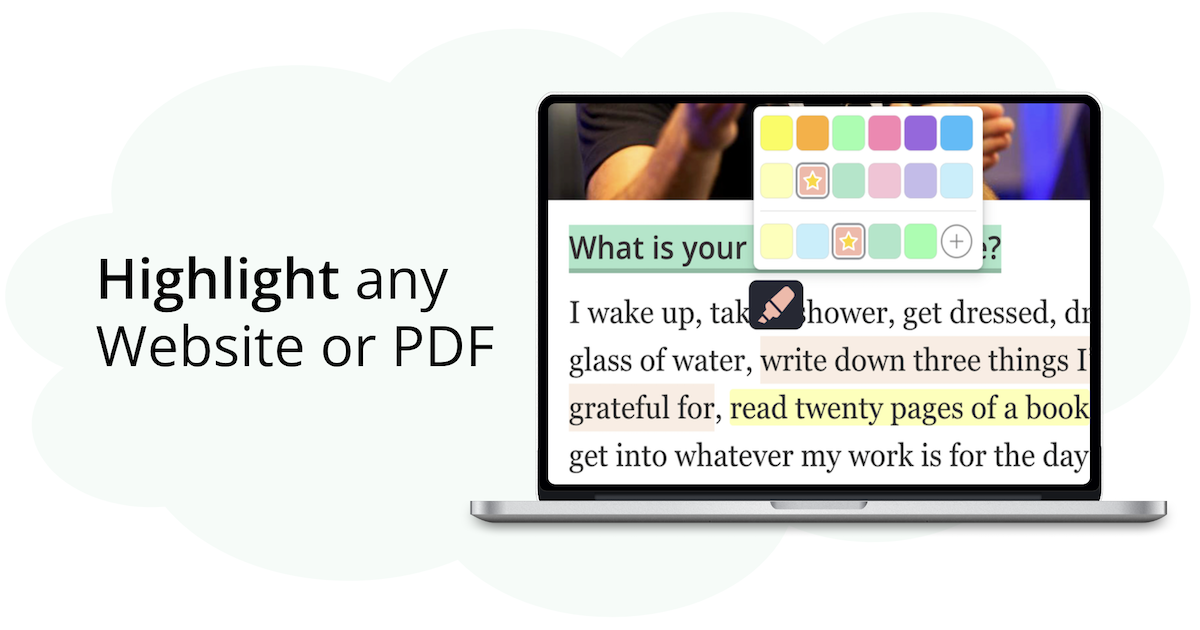
In this article, I’m excited to share with you the technology stack that powers the extension and brought this project to life.
Introduction
When I started developing Web Highlights 5 years ago, I wasn’t too worried about the tech stack.
It was just a fun side project and my first attempt at building a Chrome extension. Like many developers, I grabbed the tools I knew and started building. Even though the tech stack has evolved over the years, I’m still happy with my original choice.
Without making any major changes, the extension can sync all highlights with the cloud and the web app, and so far, it’s been able to handle the needs of 100,000 users.
Frontend
At the core of the Web Highlights Chrome extension are two primary front-end applications:
- the extension itself, which is loaded into the user’s browser,
- and the associated Web App that can be accessed at web-highlights.com.
Browser Extension
At the heart of Web Highlights is obviously the browser extension itself. This application part is loaded in the user’s browser, enabling text highlighting on any web page and PDF.
It also displays a collapsible and expandable sidebar that shows all the user’s text highlights, notes, and tags.

Those who follow my articles will probably already guess that a large part of my front-end architecture is built using Web Components.
Web Components are reusable client-side components based on official web standards. They are an excellent way of encapsulating functionality from the rest of our code. Not only that, but you can reuse them in every web application and web page.
I have written many articles on how to build a Chrome Extension using Web Components. For example, in this article I build a New Tab browser extension using Web Components.
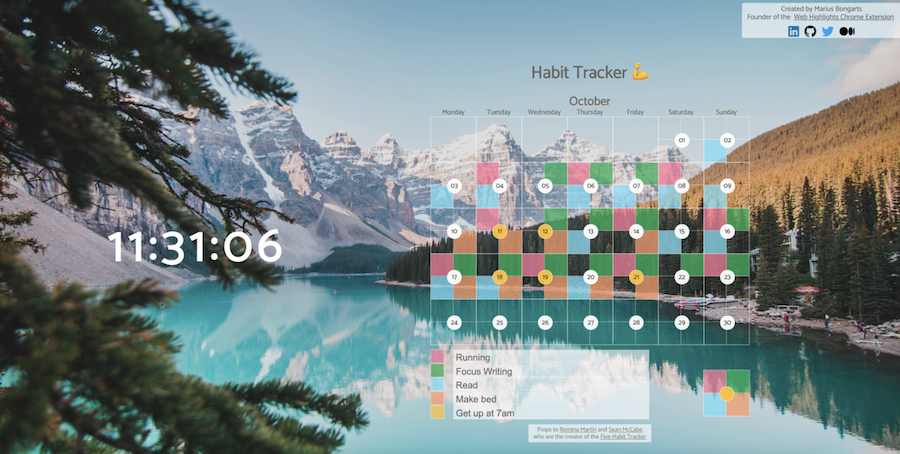
Web Components offer numerous advantages, so I used them from the beginning of developing the browser extension. To streamline the process of creating Web Components, I opted to utilize the Lit library.
This lightweight library, maintained by Google, is specifically designed for building web components and makes the development process significantly easier.
I have discussed the benefits of Web Components in various articles previously. However, the most significant advantage that saves me a lot of work is the reusability of components.
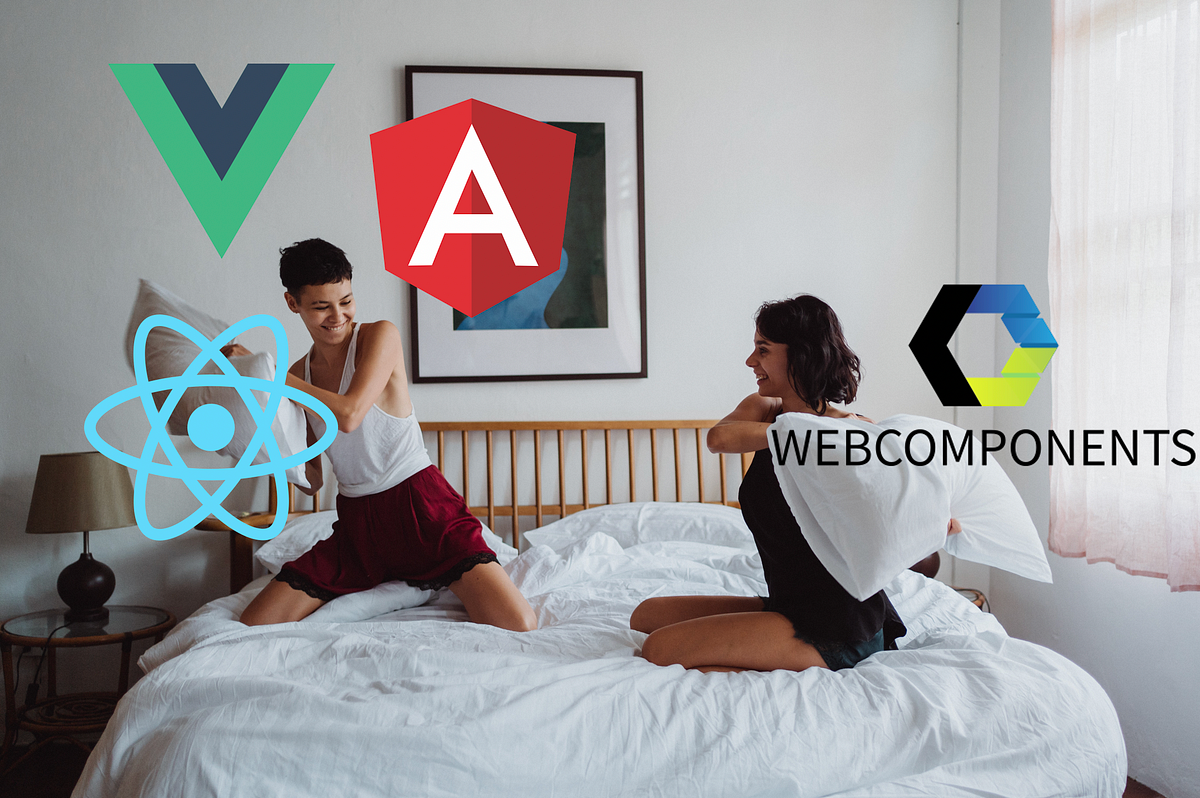
Thanks to their easy reusability, I can quickly integrate some components from the extension into the web app. For instance, if you prefer React, you can easily use your Web Components in your React app. I’ll explain more about that in the next section.
I also use Typescript like in all of my other applications as well. Furthermore, I included Redux to manage and synchronize states within the application.
Web App
In addition to the Chrome extension, Web Highlights includes a progressive web app (PWA) allowing users to access their saved highlights from any device.
A progressive web app (PWA) is an app that's built using web platform technologies, but that provides a user experience like that of a platform-specific app. - MDN
Here is what the dashboard looks like:

I decided to use Vue.js for the PWA somewhat on a whim. It was early in Vue.js’s rise, and there was a lot of excitement around it. I was eager to learn it, which led me to start building the WebApp’s frontend with it.
Nevertheless, as already mentioned, I reuse many Web Components from the extension in Vue.js. This saves me a lot of duplicated code and work. When looking at Web Highlights’ dashboard, you might have noticed that some components look very similar to the ones in the extension.
The reason for this is that they are essentially identical, except for the fact that they are loaded within my Vue.js app. To illustrate this, let’s compare the screenshot from my extension with the Vue.js PWA and note their similarities:
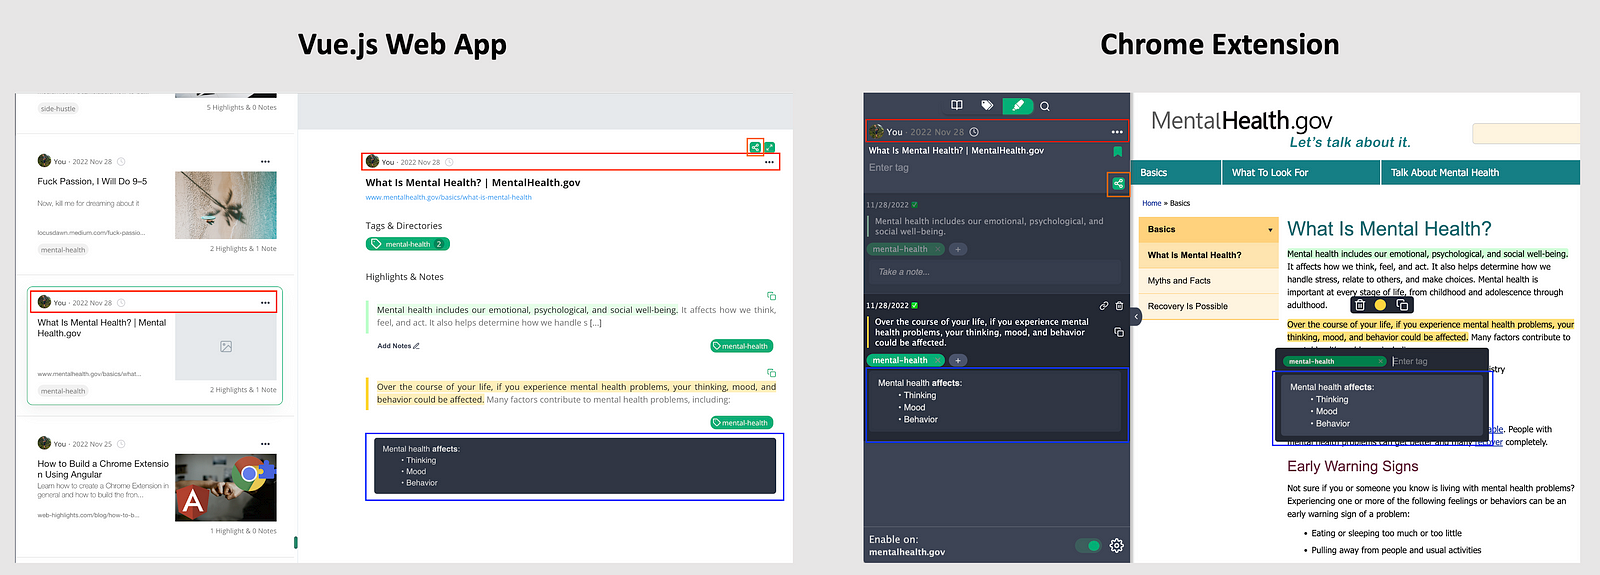
As you can see, the rich editor, share button, and toolbar are used in both the web app and the Chrome extension. Many other components are shared between the two as well. Hopefully, this comparison clearly shows the advantages of reusing web components.
Blog
Besides the frontend, I also run a blog under the subdomain web-highlights.com/blog. The main motive for setting up the blog was to rank higher on Google.
In the last few weeks, I have dealt extensively with the topic of SEO and understood that a blog on one’s domain could significantly improve the Google ranking. When it comes to SEO, then there is no way around it.
Hosting a blog and creating content on my website was a game-changer. If you want to learn more about it, read this article:

When it comes to hosting a blog, there are several choices available. However, I opted for a self-hosted Ghost instance.
Ghost It comes with modern tools to build a website, publish content, send newsletters & offer paid subscriptions to members. — https://ghost.org/
I created a digital ocean droplet and set up Ghost on it. This is easy, as Ghost and Digital Ocean provide excellent getting-started articles and documentation.
Backend
When choosing a server, it was essential to me that I could also use JavaScript/Typescript. For two main reasons:
- I simply know JavaScript best
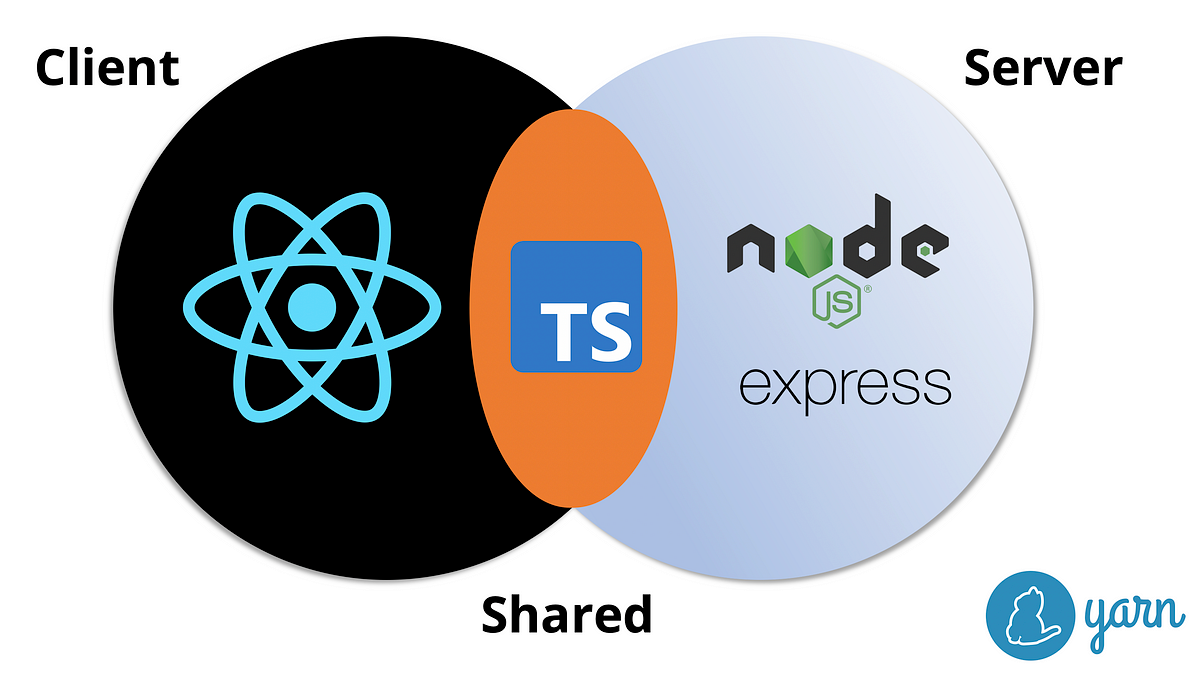
- I can share code between the server and frontend
The second point is particularly important to me. The fact that I can reuse code in both the frontend and the backend makes my code so much cleaner. In my article “Share Code between React Client and Express Server,” you can learn how to implement this using a mono repository.
Main Server
A huge part of my application forms one server, which relies on Nest.js. Nest.js is a powerful Node.js framework that provides a robust set of tools for building scalable and efficient server-side applications.
The server synchronizes users’ highlights, bookmarks, tags, and notes with the cloud. This functionality allows users to access their highlights not only within the extension but also from anywhere there is an internet connection. Users can log in to the web app, which downloads all their highlights from the server. It is also possible to share your research with friends who do not have the extension.
To ensure secure authentication, the server implements JSON Web Tokens (JWT) technology. Furthermore, I integrated Google Sign-In with Firebase.
Furthermore, my server handles a few asynchronous processes I implemented with CRON jobs. For example, users can set email reminders that are then executed every hour in a CRON job.
To make some recurring queries faster and more efficient, I also introduced a caching system that simply uses the NodeCache to cache time-consuming database queries and return them faster.
Micro Server
In addition to the main server, I implemented a small microservice using Express.js. This microservice exports HTML to PDF files using the Puppeteer library.
I had initially considered implementing this functionality in the main Nest.js server, but given the Puppeteer library's large size and resource-intensive operations, I decided to offload it to a separate microservice. This way, I can keep the central server lean and fast while still providing the necessary PDF export functionality via the microservice.
Database
The Web Highlights Chrome extension relies on a MongoDB database to store user data. MongoDB is a popular NoSQL database with high scalability, availability, and performance.
I am using Mongoose, which is a popular object data modeling (ODM) library for MongoDB, to model the data in the database. Mongoose provides a simple and intuitive API for defining schemas, creating queries, and validating data.
The database is hosted on MongoDB Atlas Cloud Database, which handles all the complexity of deploying and managing my database. Additionally, it offers the security of automatic backups.
Hosting
Server
Currently, my main server and microservice are hosted on Heroku Dynos, which provide flexible hosting for my apps.
Heroku has been really convenient because it lets me easily deploy from GitHub and set up a pre-production testing server by deploying from my development branch.
It might also be more cost-effective to host the main server on the Digital Ocean droplet, but I’m really happy with Heroku. I like knowing I can easily restart the server from anywhere using their web app. It gives me peace of mind knowing it works reliably and I can manage it, even when I’m on vacation for a few weeks, ensuring my server is always running.
Frontend
I have set up a Digital Ocean droplet to host the front end of my Vue.js web app. This setup has changed a lot over the years. When talking about the front end, I have to differentiate between the marketing website at web-highlights.com and the actual web app at app.web-highlights.com.
The marketing website is a server-side rendered Nuxt3 application, while the PWA is a client-side rendered Vue3 app that even works offline.
A configured A-record in my domain provider, Strato, directs the domain web-highlights.com to the IP address of my Digital Ocean droplet.
The droplet is set up to serve the web app as a static site and the marketing website through the port of the running Nuxt3 app. I also configured an NGINX server to host my Ghost CMS blog under the /blog subfolder of the domain. This setup allows visitors to access both the web app and blog from the same domain easily.
Payment
Since my app offers different paid subscription plans, I needed to choose a payment provider. Some of the most popular options are Stripe, Paddle, Lemon Squeezy, and others.
I went with Paddle because, like Lemon Squeezy, they offer a Merchant of Record system that makes it easy to manage payments globally. This is especially important for being legally compliant in European countries.
Integrating Paddle into my Nest.js backend was simple, thanks to their excellent documentation and easy-to-use sandbox environment for testing.
Testing: Jest + Cypress
Initially, like many others, I developed my application without any unit tests or integration tests. However, over time, I added a significant number of unit tests and integration tests, which have helped me avoid many issues.
Although it was challenging to test the Chrome extension fully integrated, I established a test environment where I could launch and test my application locally. Using Cypress, I have tested almost every feature of my application. Additionally, I have implemented many unit tests for complex logic, for which I utilize Jest.
Final Thoughts
That's it! Of course, I didn’t cover every single technology or library I’m using, but I hope this gives you some useful insights. Maybe you can even apply some of these ideas to build your own Chrome extension.
Here’s a quick summary of the tech stack:
- Frontend: Web Components + Lit, Vue 3 PWA, Nuxt3, Typescript, Redux, Ghost CMS
- Backend: Nest.js, Express.js, JWT, Firebase Auth
- Database: MongoDB, Mongoose, MongoDB Atlas Cloud
- Payment: Paddle
- Hosting: Heroku, Digital Ocean, Strato
- Testing: Jest, Cypress
I hope you enjoyed reading this article! I’m always happy to answer questions and open to feedback. Feel free to reach out anytime 😊
I hope you enjoyed reading this article. I am always happy to answer questions and am open to criticism. Feel free to contact me at any time 😊
Get in touch with me via LinkedIn or follow me on Twitter. Also, check out my PDF & Web Highlighter Chrome extension if you haven’t. Follow me on Medium for more articles like this.

