How to Export Your Research to Notion with Web Highlights
A central organized tool helps to structure your research. Export highlights & notes to Notion using the Web Highlights Chrome Extension.

A handy tool like Notion can gather all your research in one spot. Many people use Notion for this purpose.
To help users smoothly incorporate Web Highlights into their work routine without giving up their usual personal knowledge management (PKM) services, Web Highlights provides a simple method for exporting research to these tools. The best part is that you can export your research to any external tool that supports markdown syntax, including Notion. I'll guide you through the process of exporting the highlights, notes, and tags you've created into Notion.
If you haven’t used the Web Highlights Chrome extension yet, install and use it for free in the Chrome Web Store.
Let me walk you through the three steps to export your research from Web Highlights to Notion:
1. Highlight any website
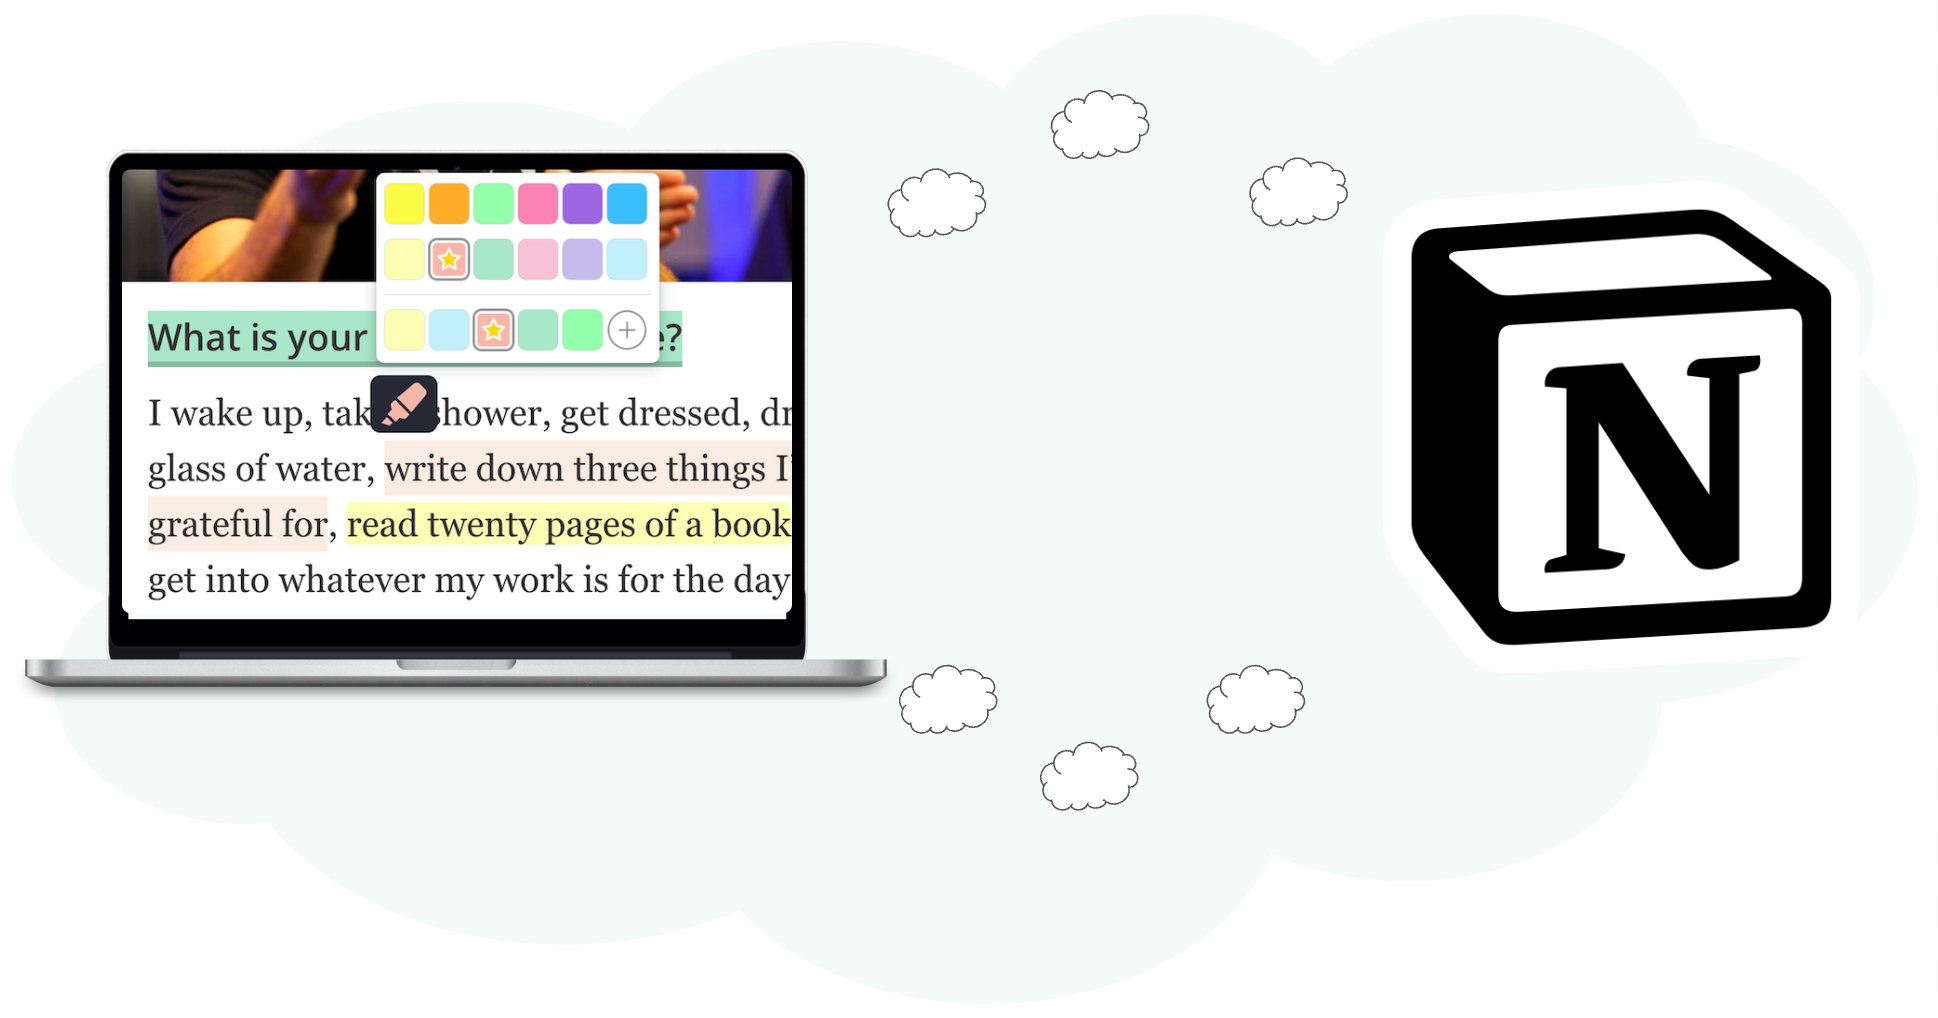
Firstly, to export our research, we need to highlight information from a website. This is a simple process if you have the Web Highlights Chrome Extension installed - Just select some text and then, either:
- Click the highlighter popup.
- Right-click the selected text and choose 'Highlight selected text.'
- Use a keyboard shortcut (Mac: ⌥ + S, Windows: ALT + S).
Your highlighted text and notes get saved automatically and are accessible from the extension's sidebar. If you've got the premium feature of cloud sync enabled, you can also access them on the web app at app.web-highlights.com.
Moreover, you can add tags, create notes, and modify the title or description of the highlighted page.
2. Copy Markdown
Now, as we have made some highlights on a website we can use the 'Copy Markdown' feature to export our research to Notion.
The 'Copy to markdown' feature is straightforward and available for free for all users. You can either visit the highlighted website and open the sidebar to find the 'Copy Markdown' option. Another option is to open the highlighted page in the web app.
In both ways, you will see a three dots menu in the top right corner of your page. When clicking it, you should see the option to copy the content to markdown:

3. Paste copied Markdown to Notion
After copying your markdown, go to Notion and make a new page. Paste the copied content onto the page, and you should see your highlights, notes, and tags.
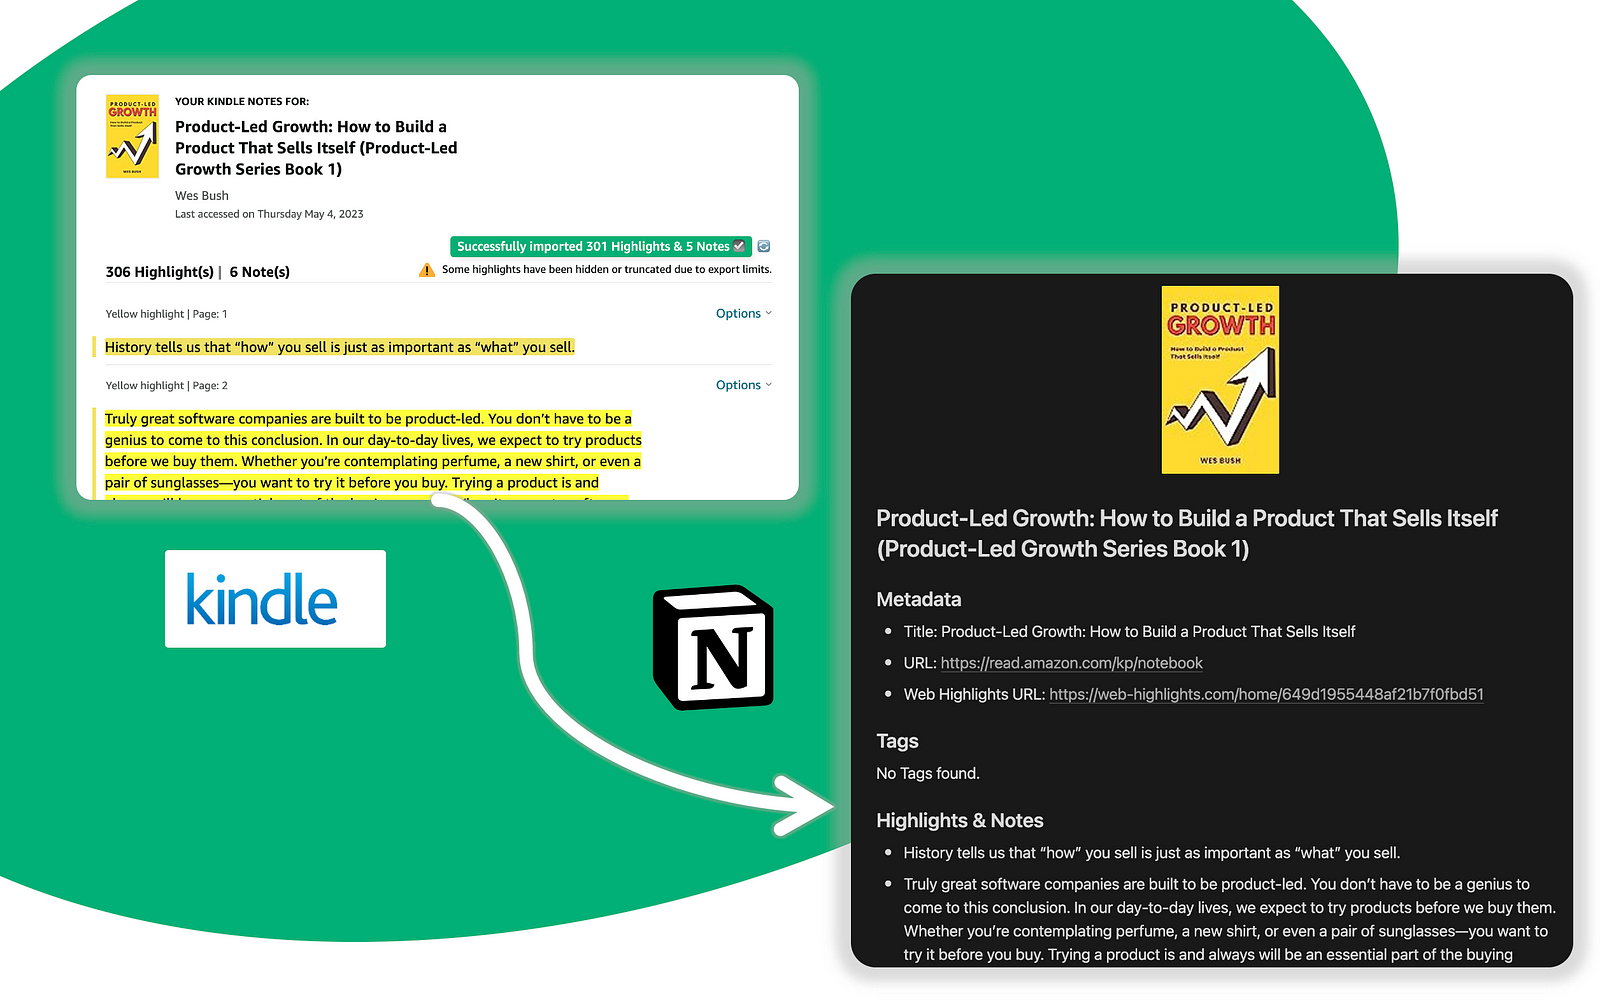
Here's how the Notion page looks in our example:

You can observe that our highlights, notes, tags, and meta information have been effectively transferred to Notion in an organized and structured manner. Additionally, it has imported the preview image of the highlighted page to enhance the overall appearance.
Final Thoughts
I hope my guidance has helped you initiate the process of exporting your research to Notion through Web Highlights. I trust this proves beneficial in enhancing your workflow while adhering to your preferred PKM systems.
I am always happy to answer questions and am open to criticism and feedback.
Get in touch with me via LinkedIn or follow me on Twitter .
Related Articles:


