Export Web Highlights to Notion with One Click
In this article, I will show you how you can seamlessly connect Web Highlights to Notion and export pages and highlights directly to your workspace.

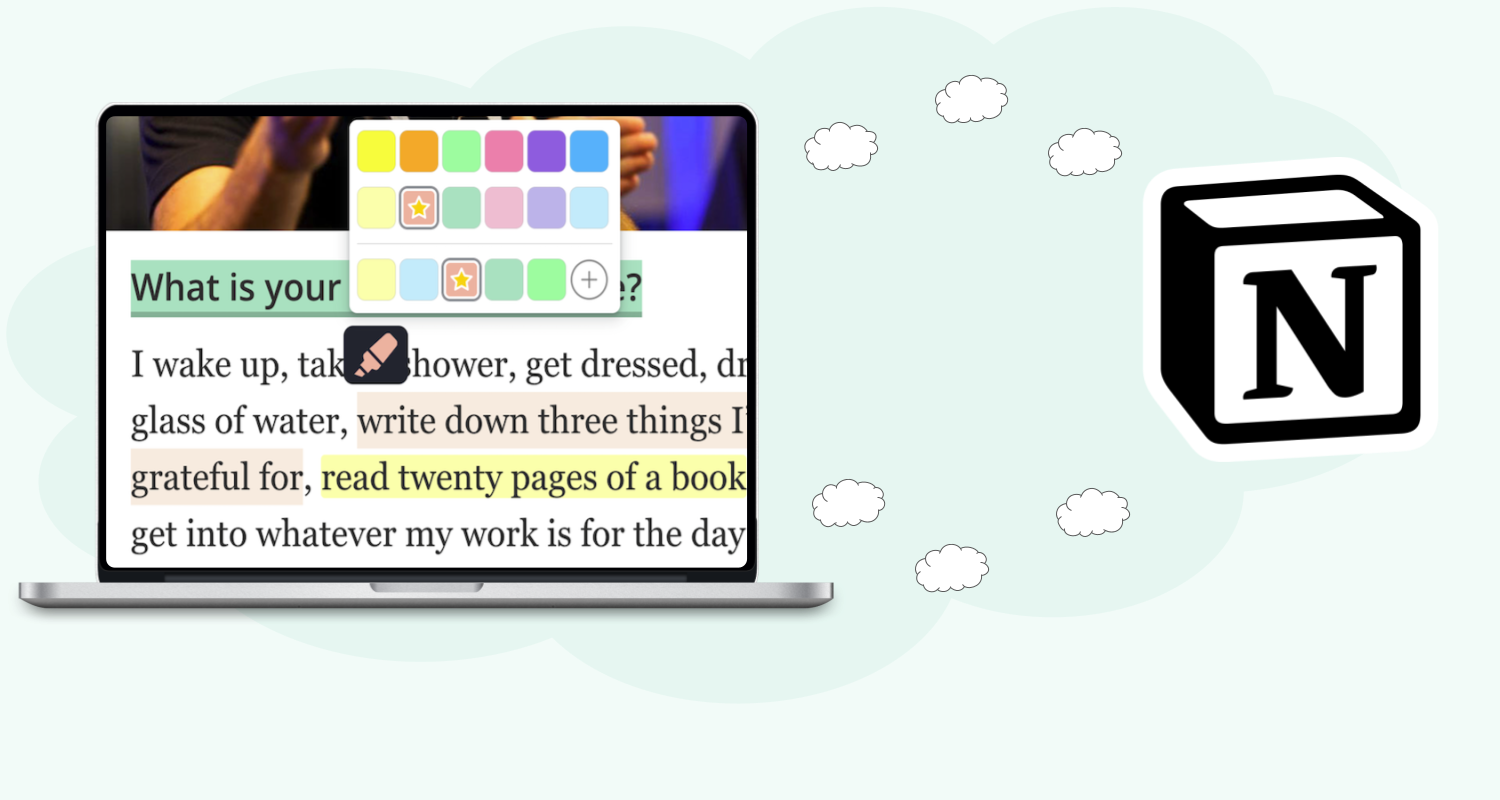
Web Highlights is a tool that allows you to easily save highlights from any webpage directly into your Notion database:
In this article, I will show you how you can seamlessly connect Web Highlights to Notion and export pages and highlights directly to your workspace.
To follow along, make sure to have the Web Highlights Chrome Extension installed.
1. Connect to Notion
First, we need to connect Web Highlights to Notion because the Chrome Extension will directly communicate with the Notion API.
To do that, we need to open the settings and go to the integration sections of Web Highlights. You can find the settings by opening the sidebar and clicking the settings icon:

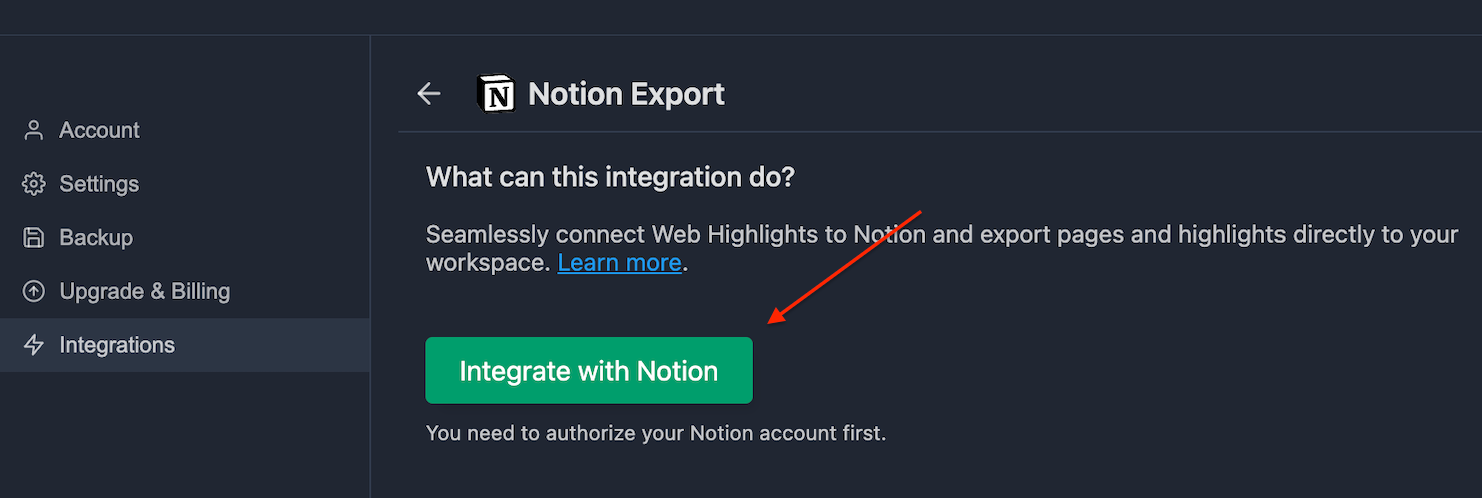
Open the integration settings and click on “Export to Notion”. Now click “Integrate with Notion”:
You will be redirected to Notion, where you need to grant access to your Notion account:
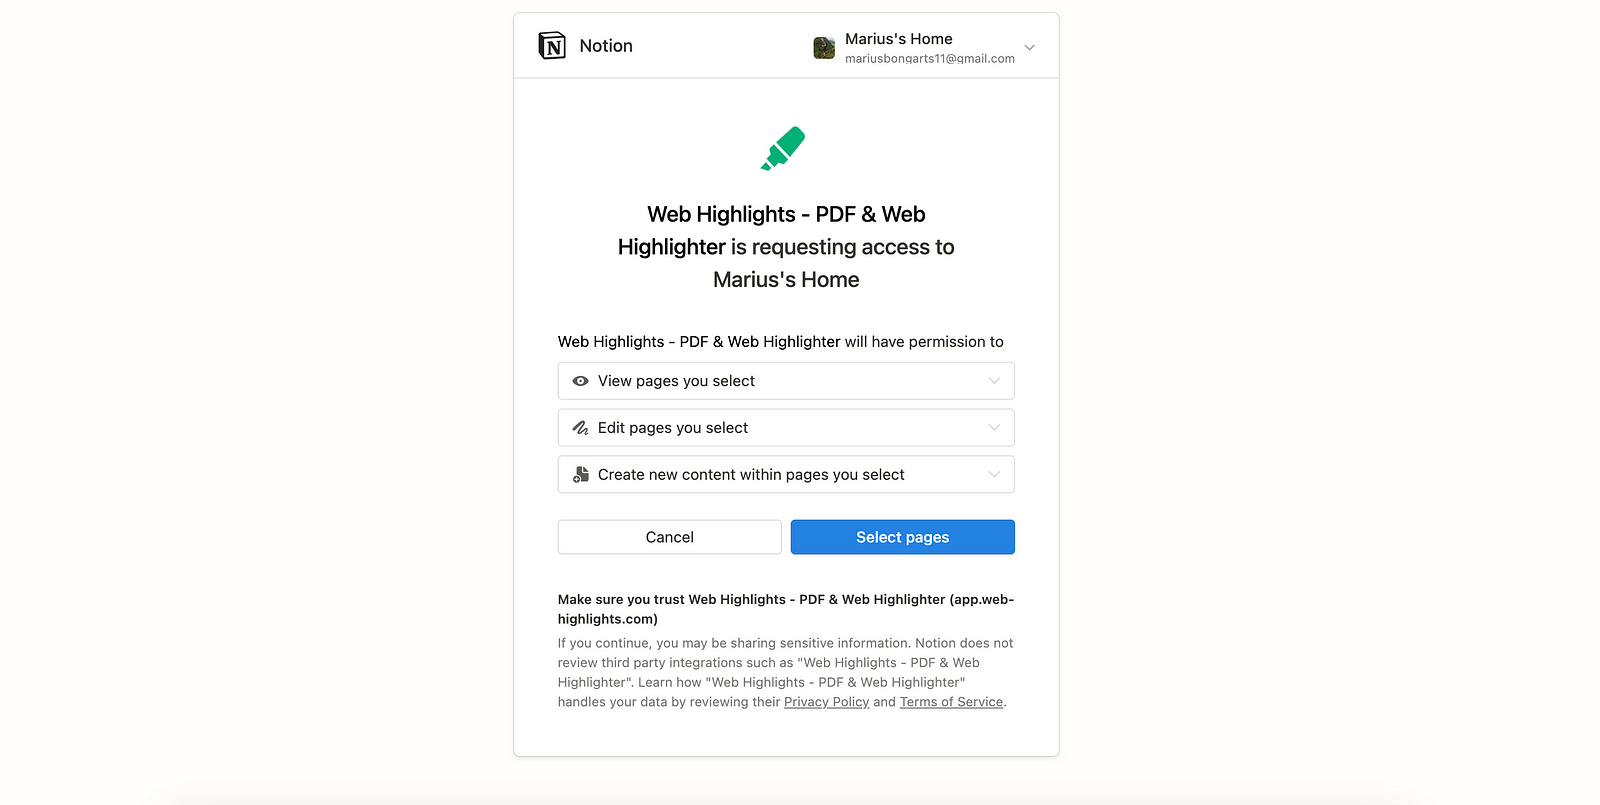
Allow Web Highlights to view, edit, and create new content to transfer your highlights to your Notion database.
Continue and select the pages you want to grant access to.
2. Select a Page
Once connected, go back to your Notion integration settings. Select the page where your highlights will be stored.
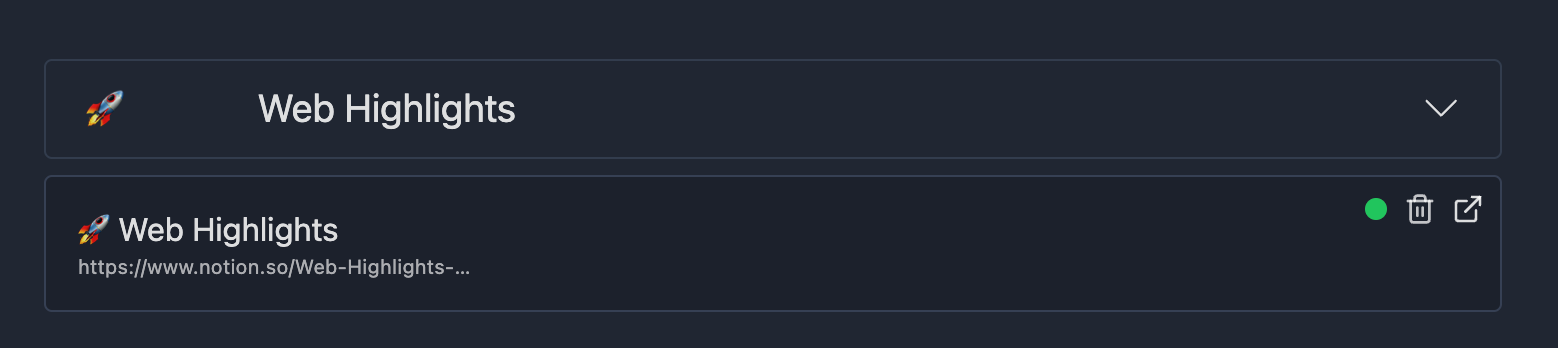
You can see above that I have selected my Notion page called “🚀 Web Highlights”.
Once you selected a page, you can already see the created database in your Notion page. You can jump to the page by clicking on the Notion preview card.
3. Export a Page
Ready to go. Now, that we have successfully connected Web Highlights to Notion, we can easily export highlights of a page to Notion.
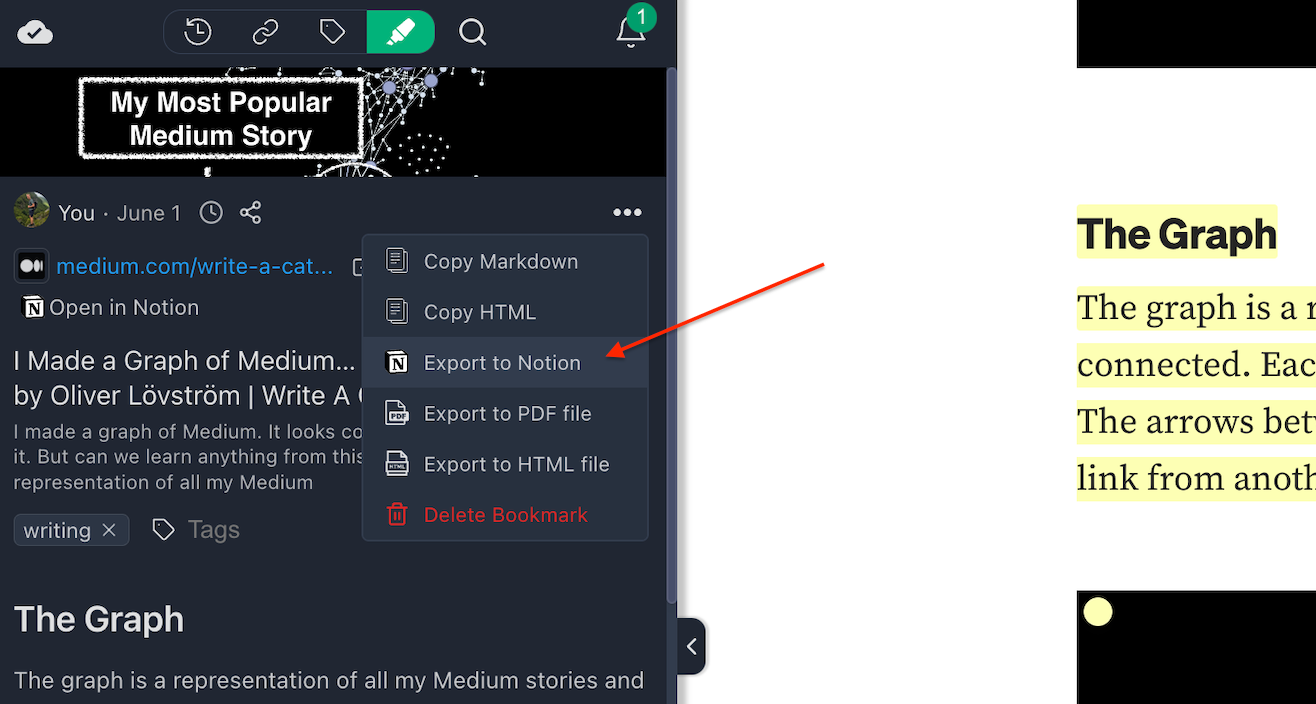
Navigate to any highlighted page and click the three dots in the sidebar. Select “Export to Notion.” Within a few seconds, your Notion page will be created.
3. Open in Notion
Once the page is created, an “Open in Notion” button will appear on your highlighted page. Click this button to directly open the Notion page in your browser.

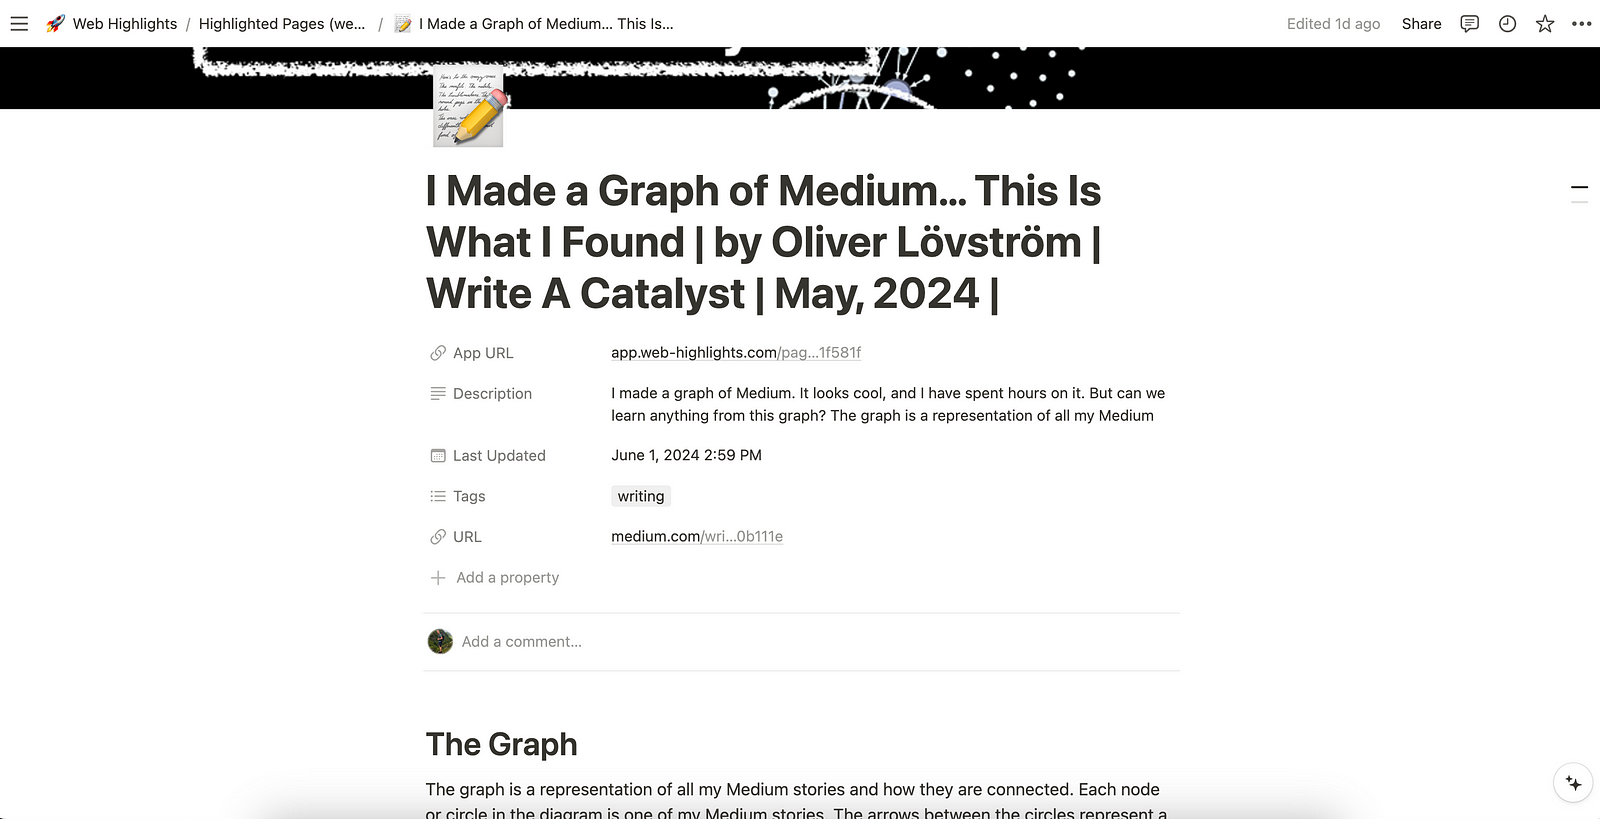
You should now be redirected to the created Notion page, with all your highlights directly stored in your Notion database:
Enjoy this cool new feature, I hope you like it!
Thanks for reading!
Want to learn more about how I scaled my Chrome Extension to 100k+ users as a solopreneur? Subscribe to my stories or follow me on LinkedIn and Twitter.