How to Build a Chrome Extension Using Angular
Learn how to create a Chrome Extension in general and how to build the frontend part of your application using Angular.

Creating your own Chrome Extensions is easier than many may think. And it’s a lot of fun. We can let our creativity run wild and modify each website as we want it to.
In this article, I will show you how to set up a Chrome Extension in general. Afterward, we will set up an Angular application and load it on any website.
Setup
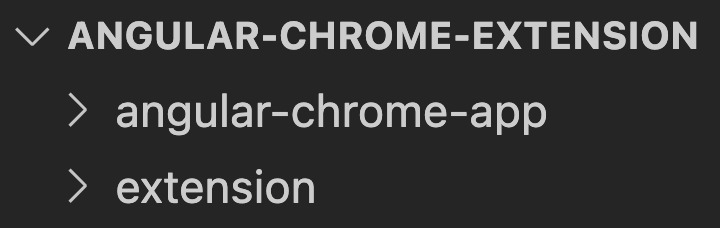
Before we start, let’s create two subfolders in our repository: extension and angular-chrome-app. The extension folder will contain our chrome extension files, and we will create an Angular app in the angular-chrome-app directory.
The structure should look like this:
Chrome Extension Setup
Let’s dive right into the setup of our Chrome extension. First of all, we need to create a manifest.json file. We will create the file in our extension subfolder.
The manifest is the entry point of our extension, which defines metadata, such as name and version, as well as additional functionalities.
Create manifest.json
Let’s create a manifest.json and add some metadata:
The first three values name , version and manifest_version are sufficient to create our first chrome extension.
Install the extension
Open your Chrome browser and navigate to chrome://extensions.
Enable Developer Mode by clicking the toggle switch next to Developer mode. Click the “Load unpacked” button and select the extension directory of our repo containing ourmanifest.json.

Congratulations! You’ve just created a Chrome Extension!
Set up Angular application
Now, let’s set up our Angular application in a subfolder of our repository.
We can do this by running:
npx -p @angular/cli ng new angular-chrome-app
or just (if you have installed the Angular CLI):
ng new angular-chrome-app
Now, let’s eliminate all the unnecessary stuff in the app.component.html file. For this article, let’s put a simple “Hello from Angular App” headline to our component:
As we want to include the Angular app in our Chrome Extension, we need to configure how Angular sets up our application. For that, we need to change the main.ts file:
To use our app on any website, we can not assume anymore that the <app-root> element exists that is usually provided by our index.html file. That’s why we will create our own root element programmatically before rendering the application.
We check whether there is an existing <app-root> element in the DOM. If not, we will create a new one and append it to the document body.
Finally, let’s create some global styles within the styles.scss file to position our App visibly on the left side of the screen:
Include Angular App into Chrome Extension
In the beginning, we already installed our extension. Still, currently, it doesn’t do anything because we haven’t added functionality to our manifest.json .
Create a Content Script
To include our Angular App in any webpage, we need a way to read the DOM and make changes to it.
For that, we will create a content script:
Content scripts live in an isolated world, allowing a content script to make changes to its JavaScript environment without conflicting with the page or other extensions’ content Scripts. — developer.chrome.com
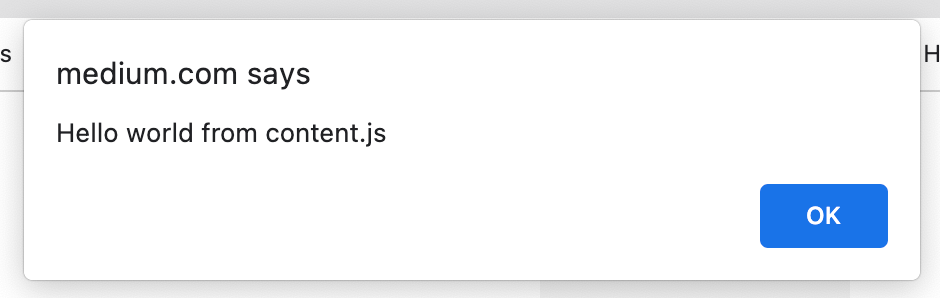
For starters, let’s create a content.js file with an alert to ensure that our extension successfully loads the script. This file will act as our content script.
The content.js script is the entry point of our extension. Let’s adjust our manifest.json to inject our script:
To use our statically declared content.js script we need to register it under the content_scripts field. This field needs to define the required attribute matches to specify on which pages the content script will be injected. For that, you can set several match patterns. We will use the special pattern <all_urls> to match any URL that starts with a permitted scheme- for example http or https .
We also define the optional field js. Here we define our scripts to be injected into matching pages.
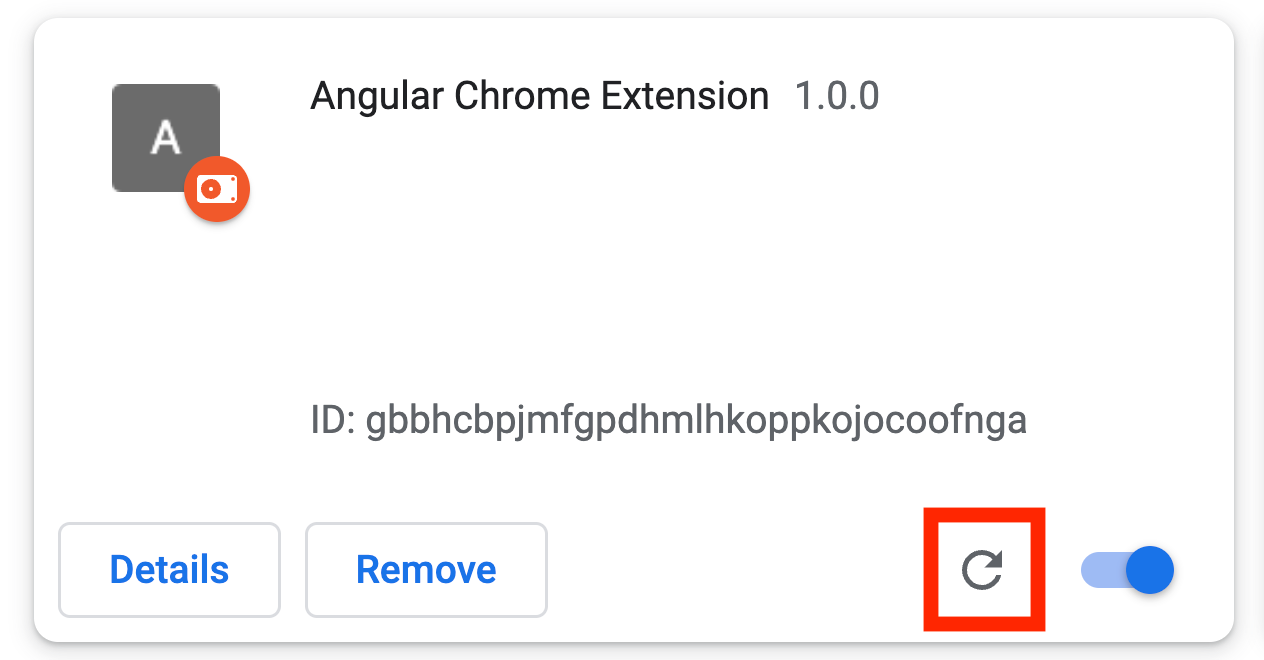
Let’s update our extension by pressing the refresh button of the extension on chrome://extensions . We can now navigate to any page, and if done correctly, an alert should appear when the page is loaded.
Worst Chrome Extension ever, right? Let’s continue and include Angular.
Create an Angular Content Script
Let’s build our Angular application by running yarn build or npm run build.
You should see that the react-scripts build script generates some Javascript files in the /dist/angular-chrome-app folder:
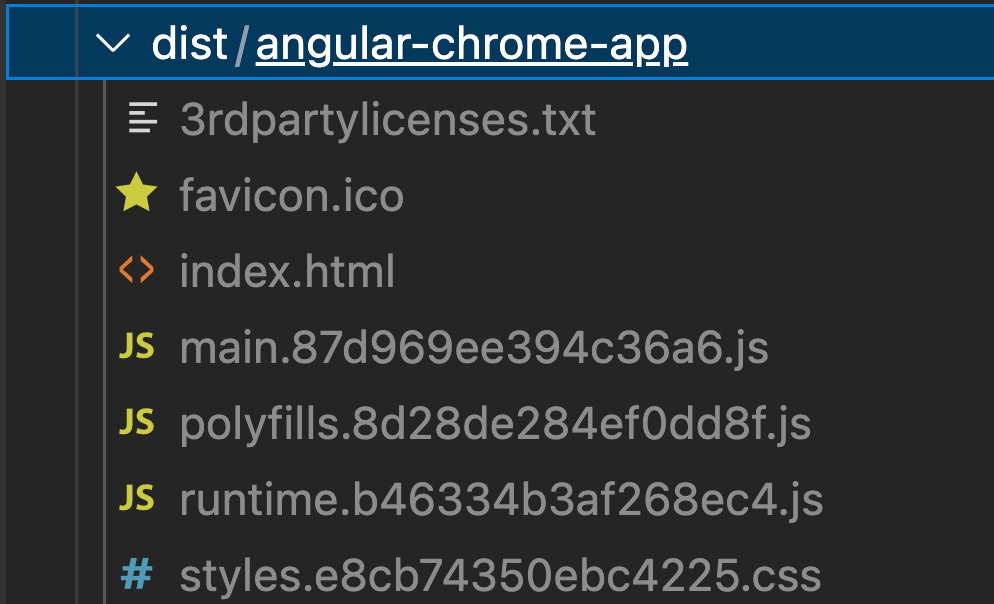
From the generated index.html we can derive which files are necessary to make the application work:
We can see that three JavaScript files are loaded to make our Angular application work:
- runtime.[hash].js
- polyfills.[hash].js
- main.[hash].js
What we now want to do is not load the main file from the index.html but within our Chrome extension as a content script.
Copy build files to the extension
We could now go ahead and copy & paste all of the three files mentioned above and include them in our manifest.json.
But, as the hashes in the filename change after each build, we should automate this. Notice that we could set up Webpack here but let’s keep things simple and just copy all files needed and adjust their filename after each build.
To do that, we create a new script in our package.json which will execute those three commands
This will copy all necessary files into our /extension folder and removes the hashes from the file names. Also, notice that we include our global styles.
Here are our updated scripts in the package.json in the /angular-chrome-app folder:
After each build, we copy the build files to our /extension folder in which we can now include them by adding them as content scripts like this:
Now, we can go ahead and re-load the extension to apply our changes.
When navigating to any webpage, we should see our Angular application showing up on the left side of the screen:
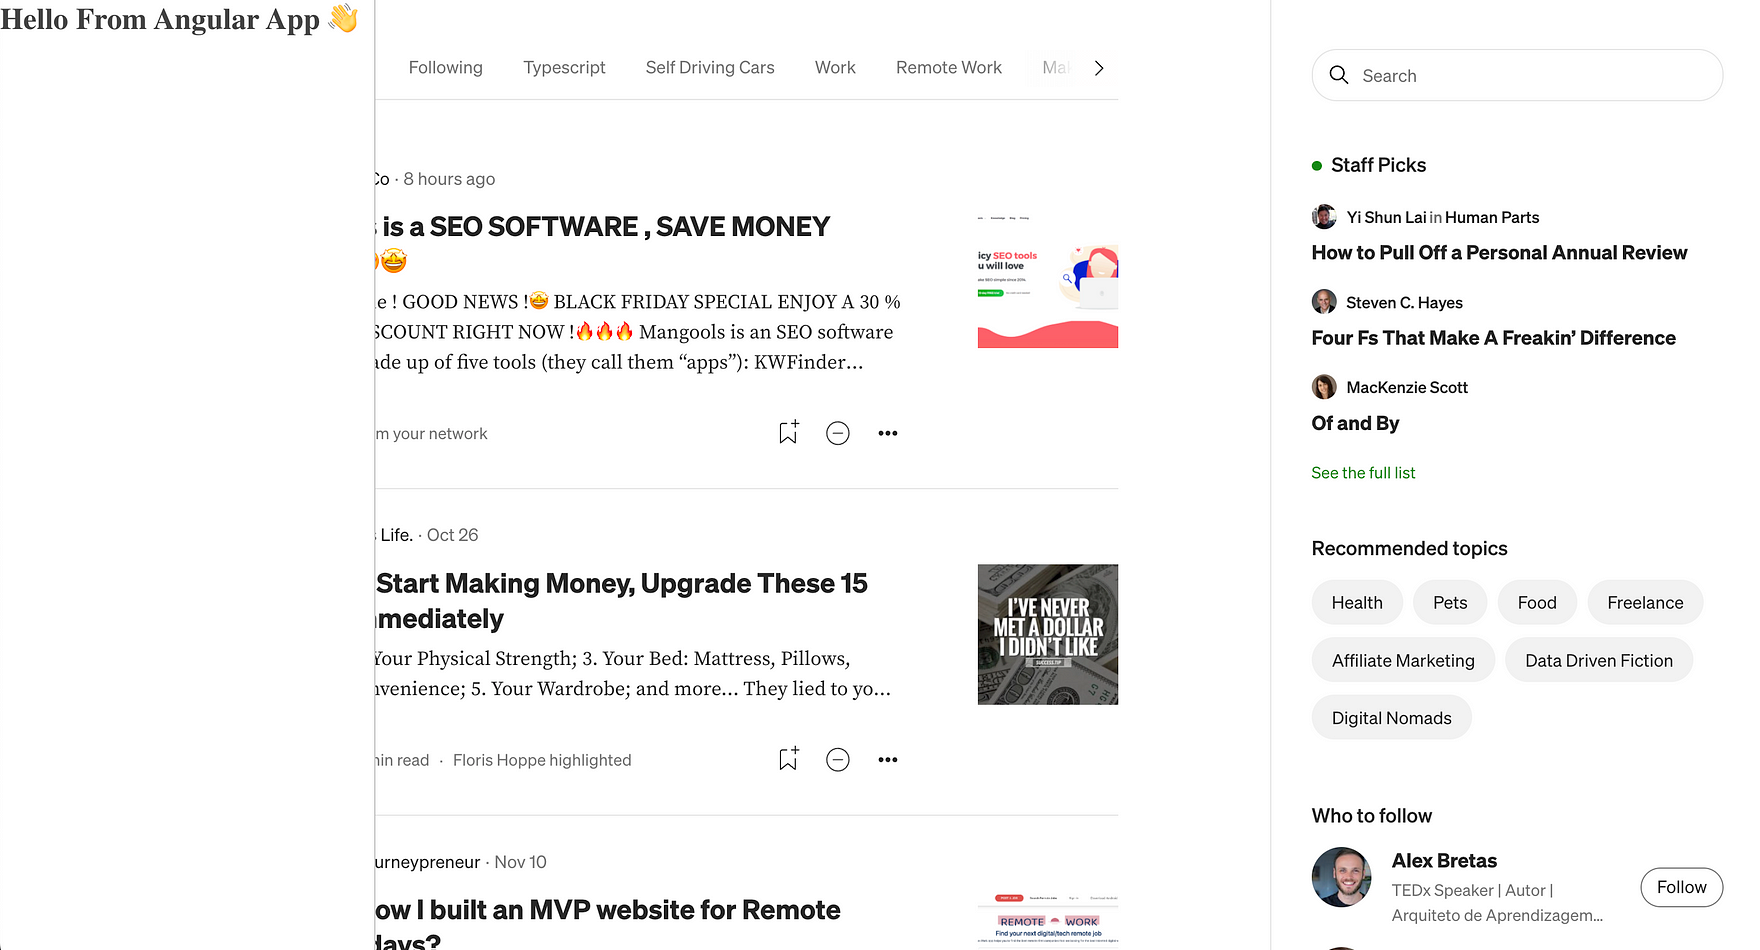
Admittedly, this is still not a cool Chrome Extension. But now that we’ve successfully integrated our Angular app into a Chrome extension, you can build any app of your choice with Angular that runs on any webpage.
You can find the code of this article in this GitHub repository.
Final Thoughts
Creating your own Chrome Extension is much easier than many may think. Once you set up the extension correctly, you can develop whatever you want using Angular. Being able to design your very own Chrome extension can be a lot of fun as you can let your creativity run wild.
I am always happy to answer questions and am open to criticism. Get in touch with me via LinkedIn or Twitter.