How to Import Highlights from Diigo into Web Highlights
Diigo is a popular browser extension with over 300k users. Here's a quick guide on how to import all your annotations and notes from Diigo into Web Highlights.


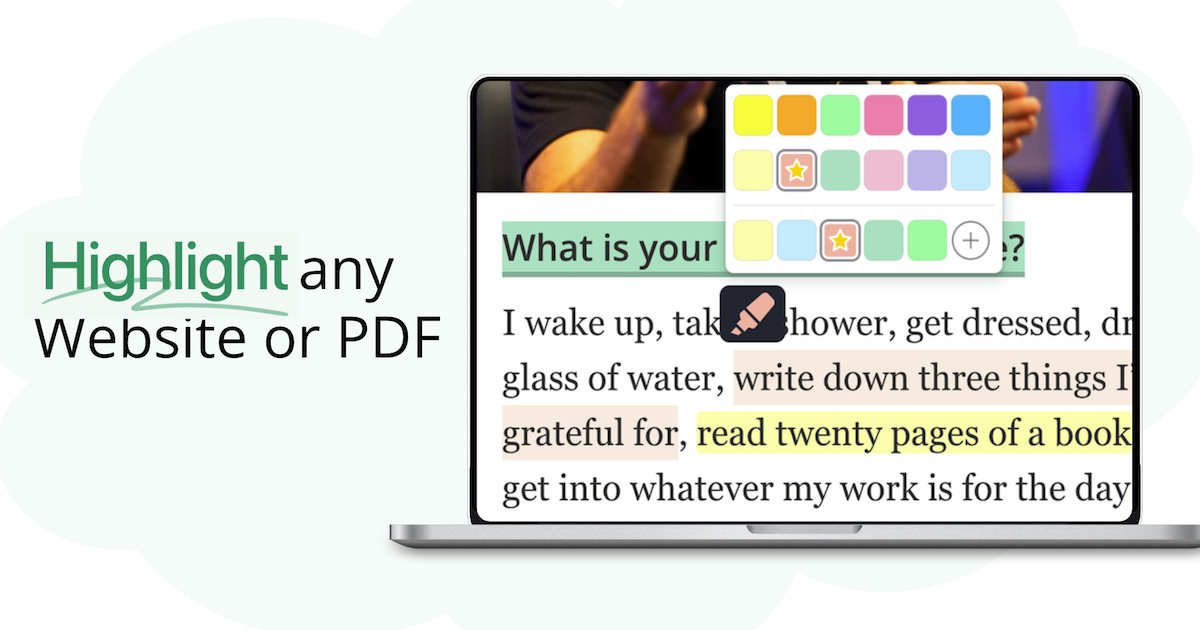
Diigo is a popular Chrome extension with over 300,000 users. Similar to Web Highlights it allows you to annotate websites and PDFs.
We've been getting a lot of requests to import highlights, notes, and annotations from Diigo into Web Highlights. So, we've created an easy integration that allows you to bring over all your highlights, notes, and pages from the Diigo Highlighter Browser Extension.
If you haven't installed the Web Highlights browser extension yet, please do. You can install it here.
Here's a quick guide on how to easily import all your highlights, pages, and notes to Web Highlights.
Step 1: Export Highlights from Diigo
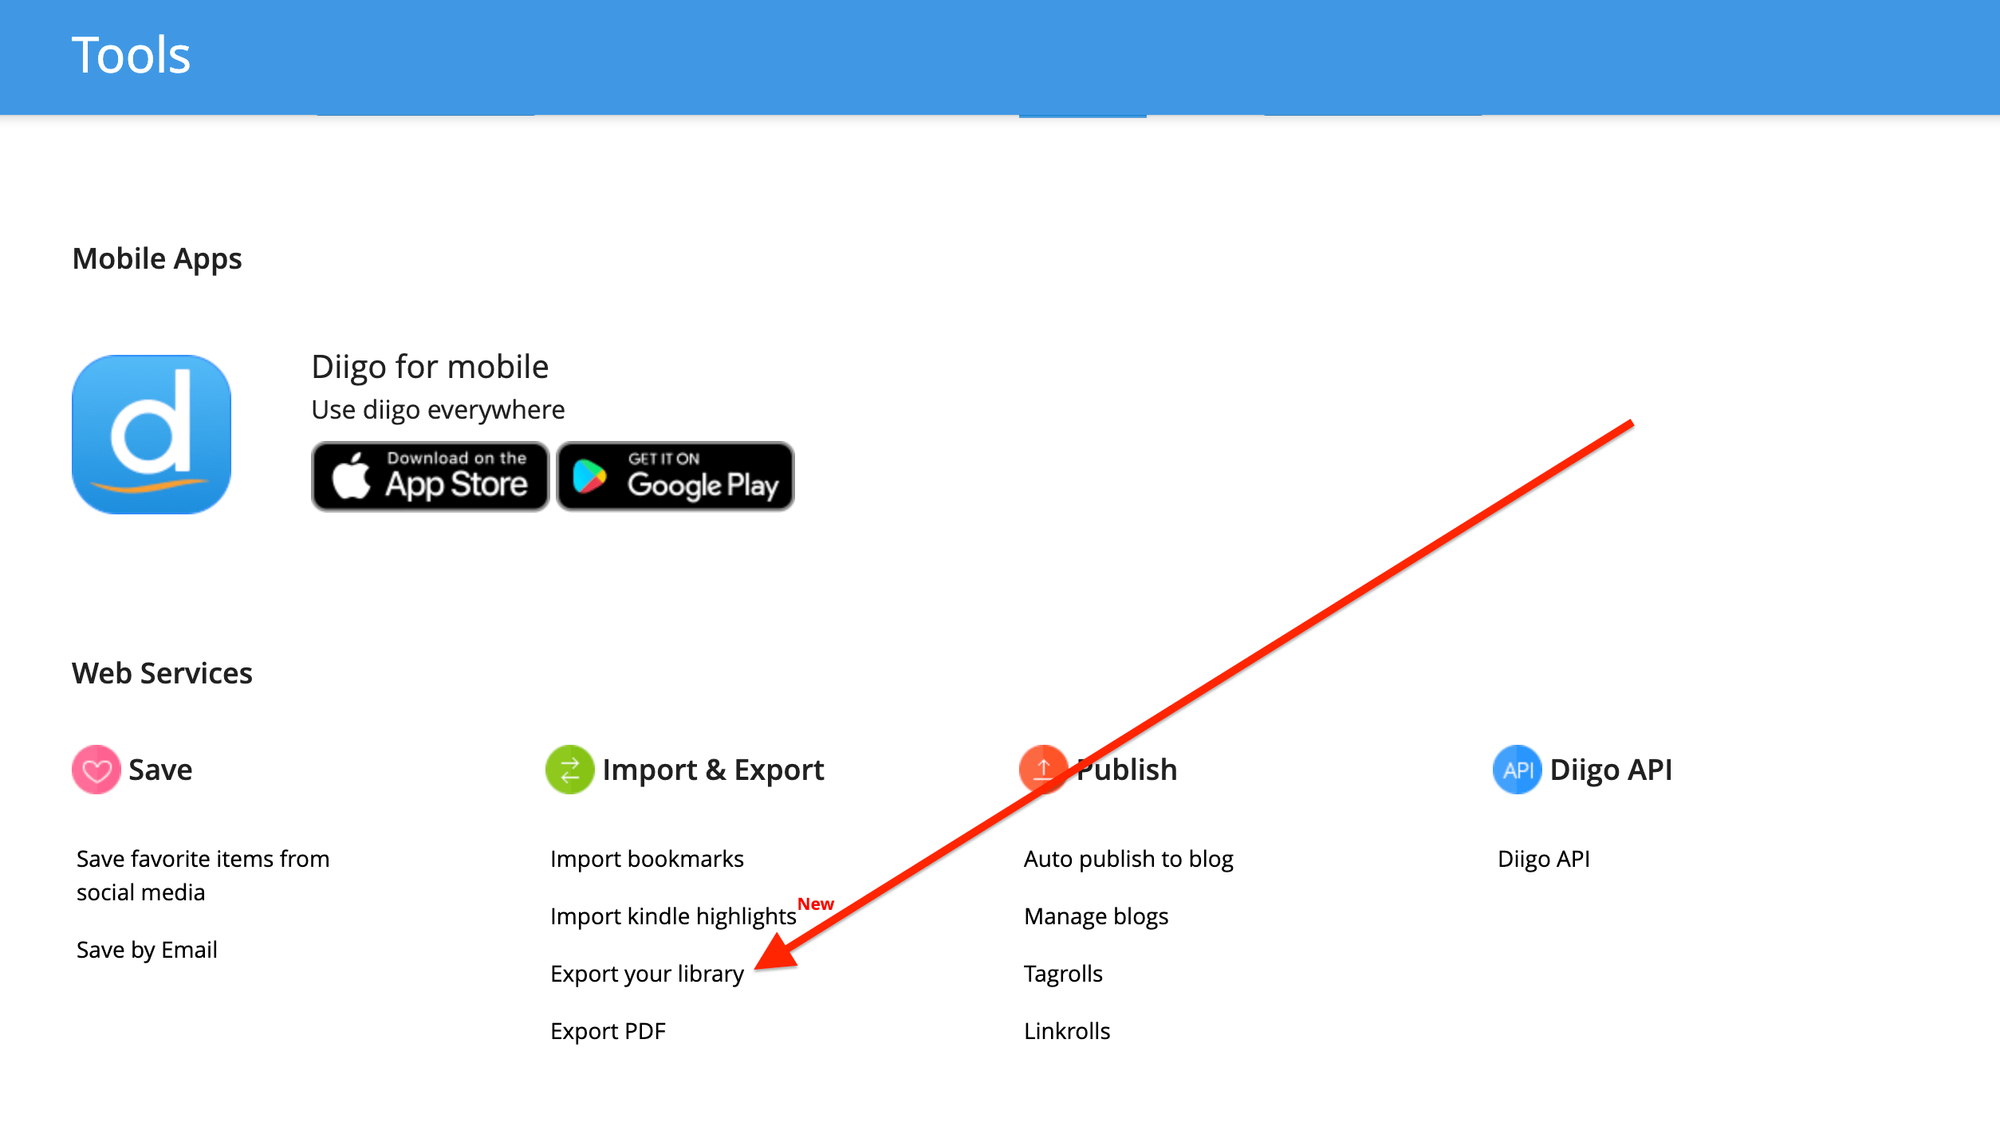
Open and log in to Diigo. Now go to "Tools" and choose "Export your library" at the bottom of the page.
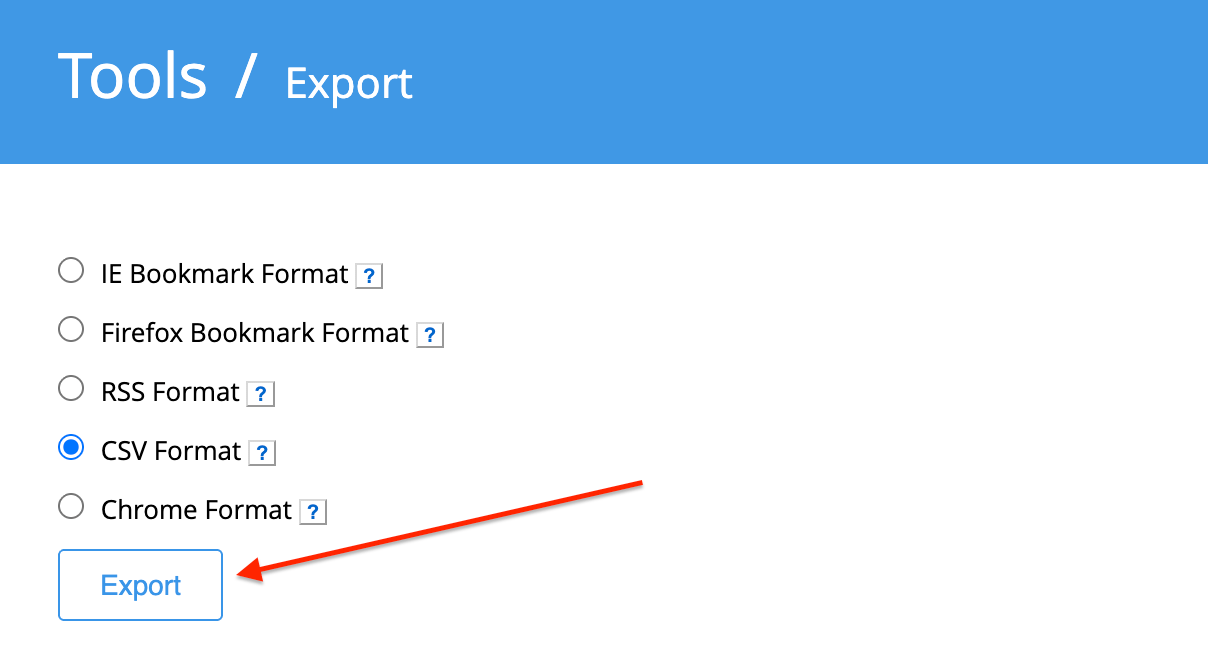
Now, choose the CSV format and click "Export".
You should receive an email with the exported CSV file. Alternatively, you can also download the file from the "Export History" page which will appear after the export is complete. You might need to refresh the page.
Now, simply download the exported CSV file from the email or from the Export History.

Step 2: Import Highlights into Web Highlights
There are two ways to import your highlights into Web Highlights:
- Use the extension sidebar on any website.
- Use the web app at app.web-highlights.com. Note that this requires a Premium or Ultimate subscription.
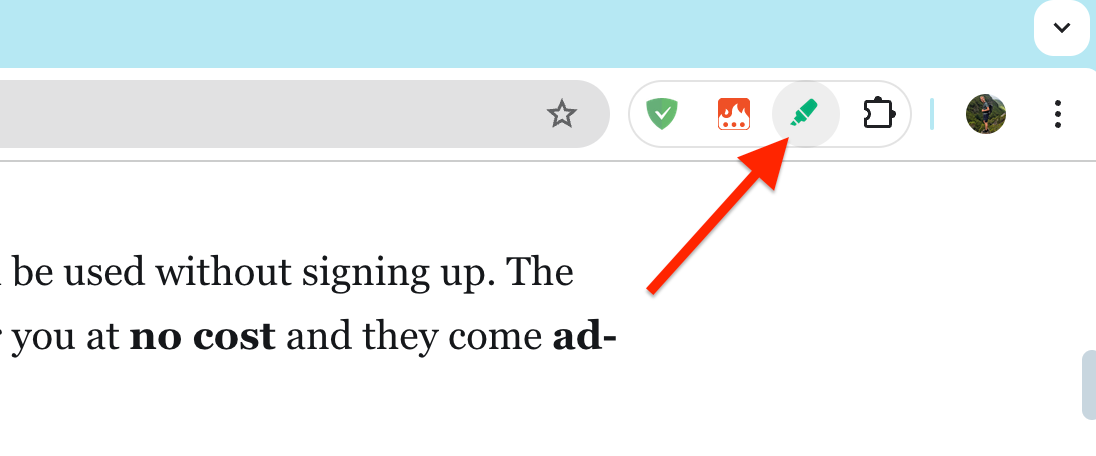
Click the extension icon to open the sidebar (You can skip this step if you are using the web app).
Click on the settings icon in the bottom left side of the sidebar.
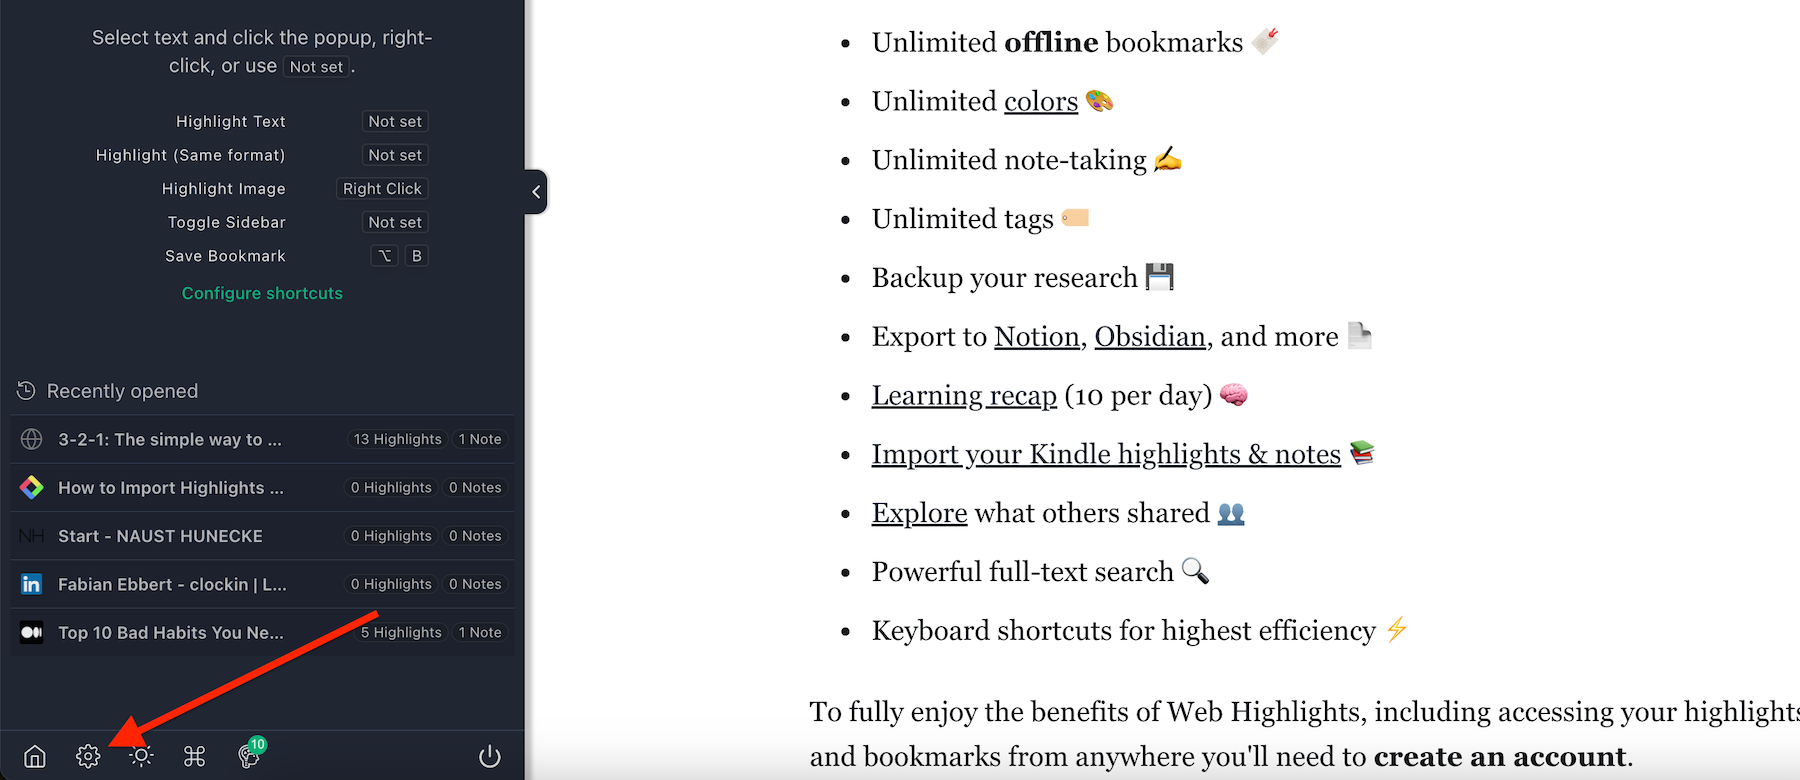
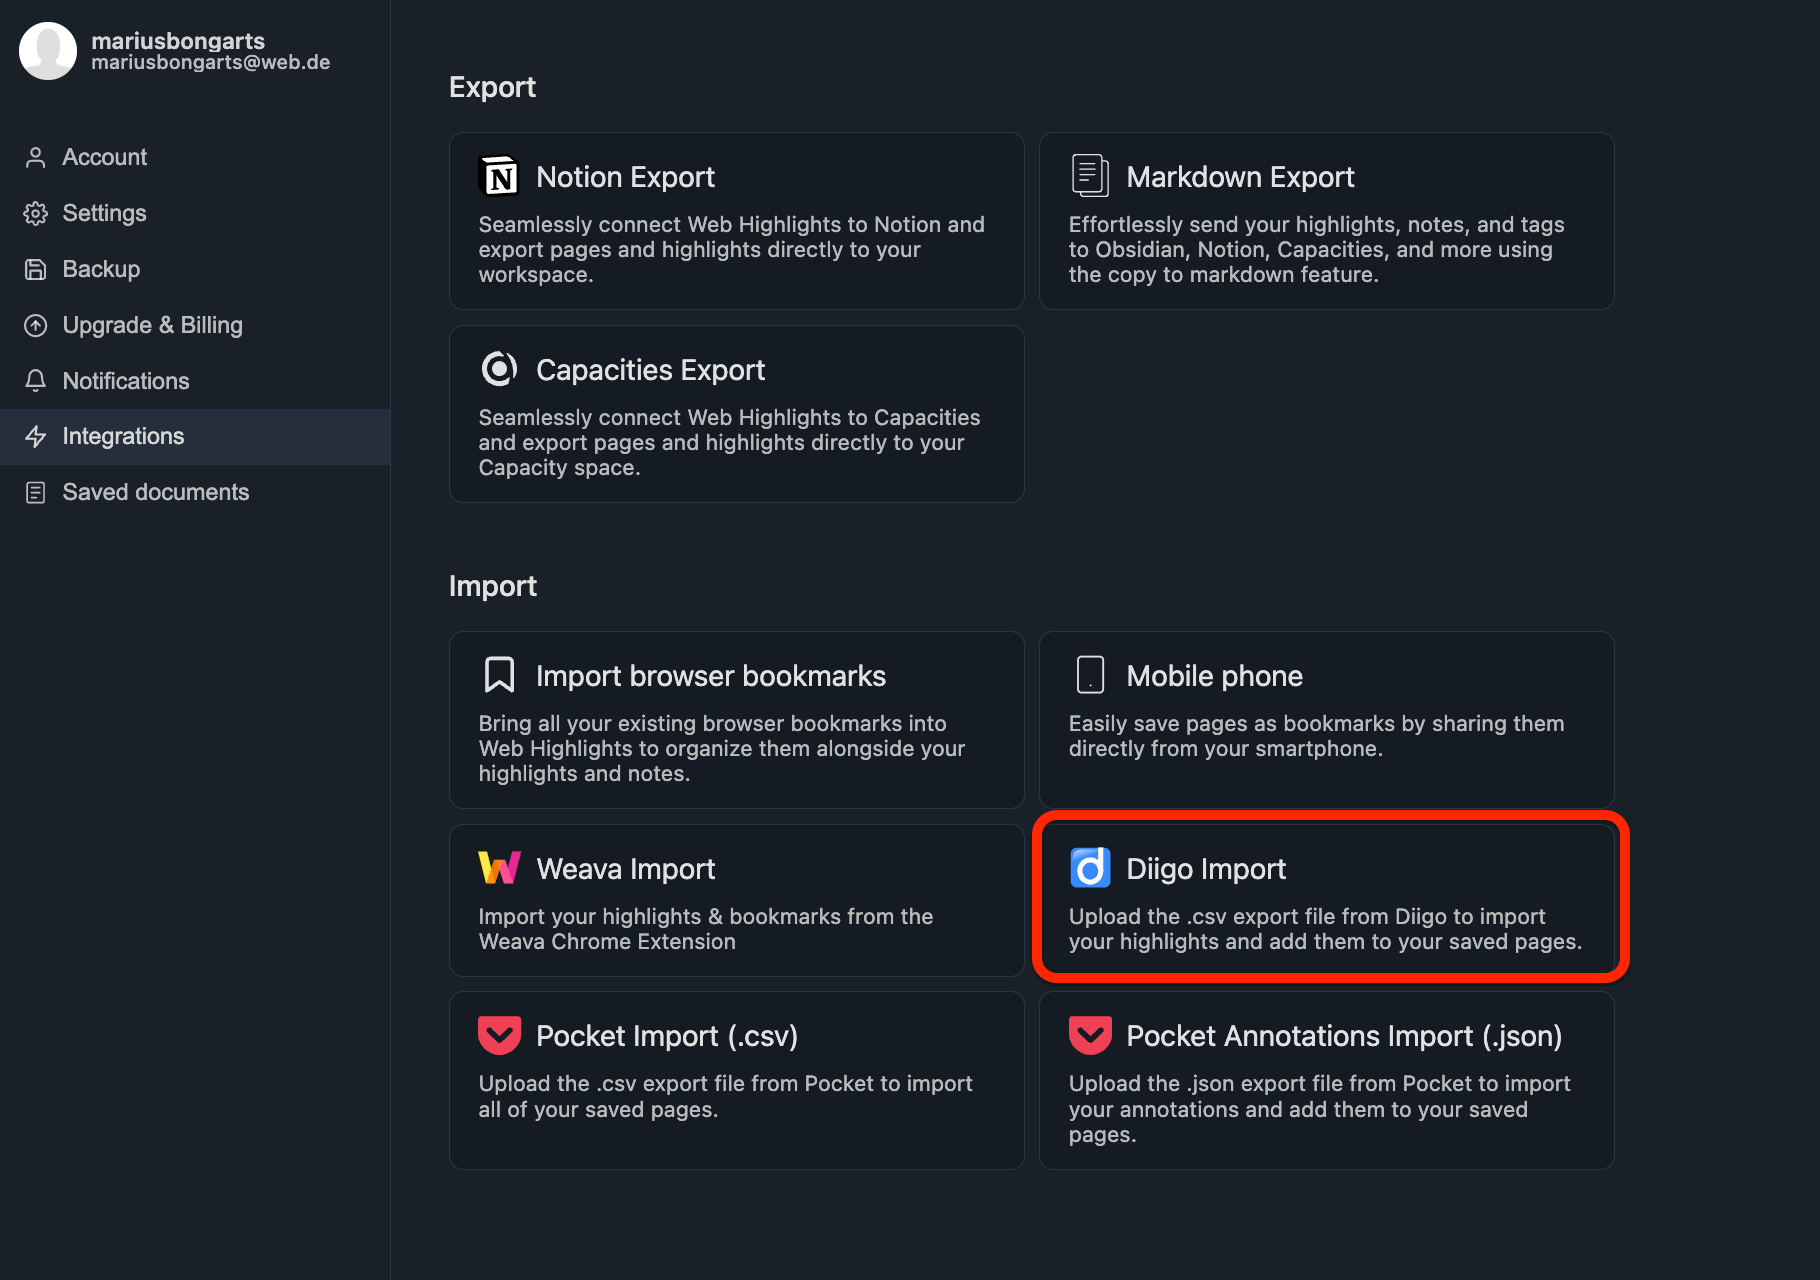
On the Settings page, you can see Integrations on the left.
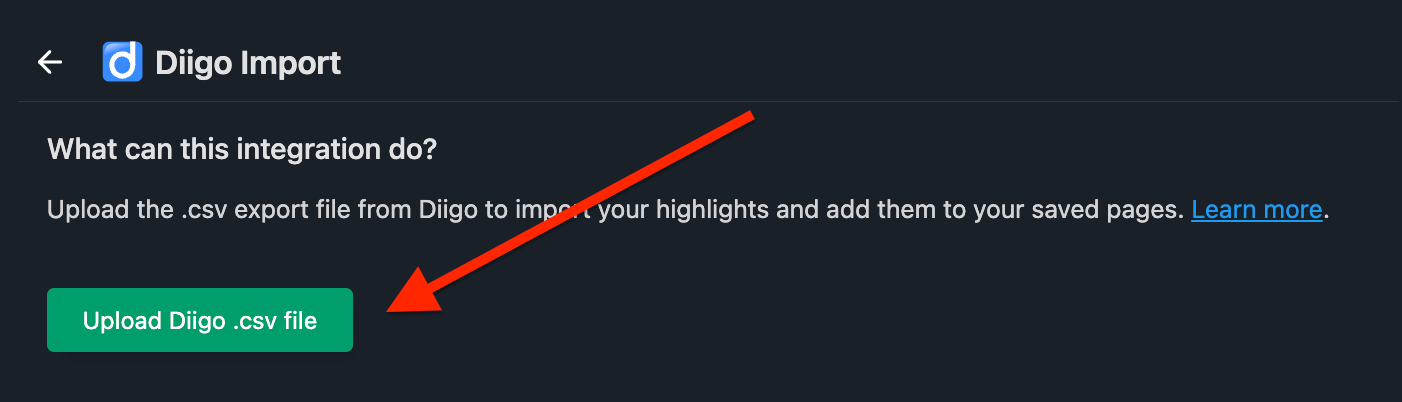
Click it and find the Diigo Import option. Click it to upload the CSV file in the next section.
Click Upload Diigo CSV File and select the exported Diigo CSV file from the first step.
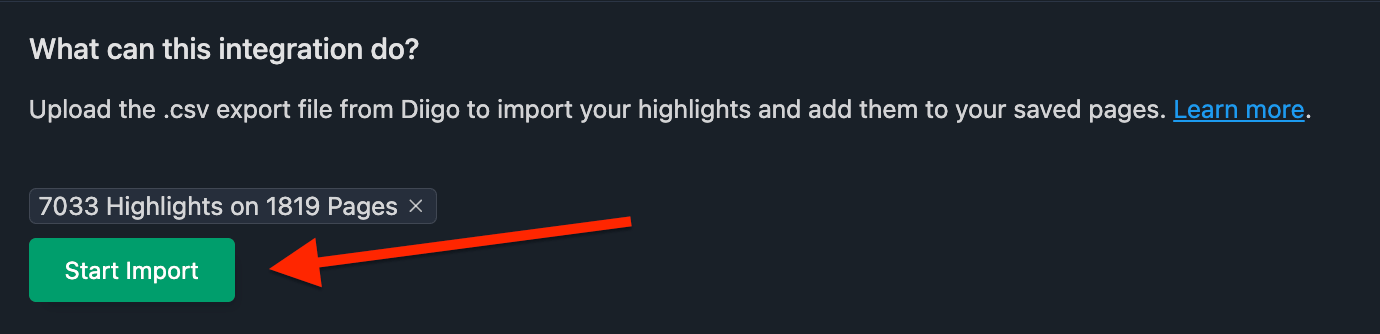
If the file is valid, you will see an info of how many pages and highlights can be imported. Now, you can click Start Import.
Now, wait until the import finishes.
If you have cloud sync enabled and are importing many highlights, synchronization may take some time. But don't worry, you can close the modal and continue working. The synchronization will keep running in the background.
Step 3: View the Imported Highlights
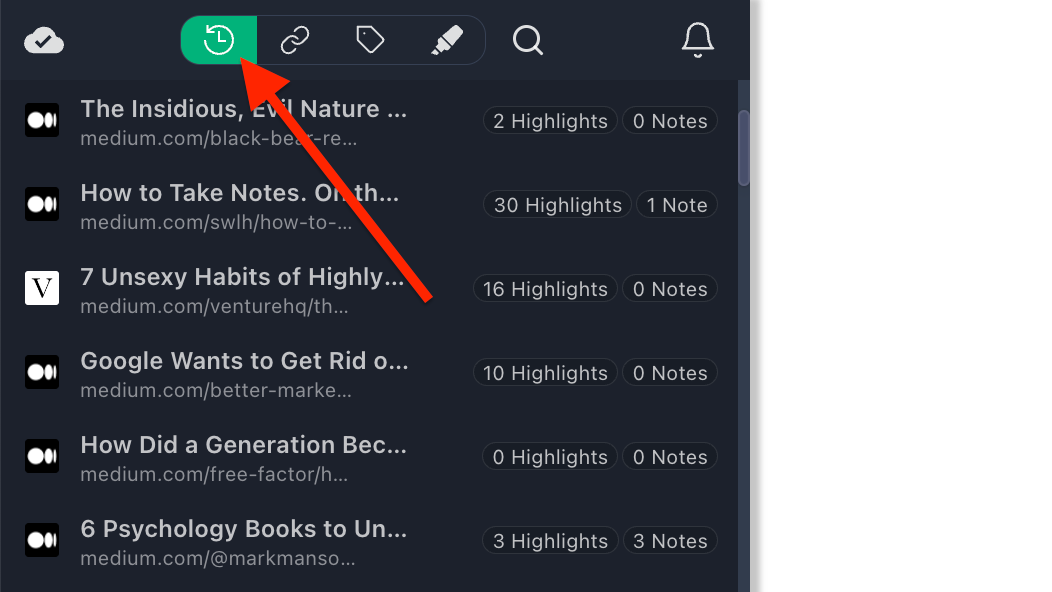
If the import was successful, you'll find your imported annotations in the history section of the sidebar. Click the left tab in the sidebar to see all your pages.
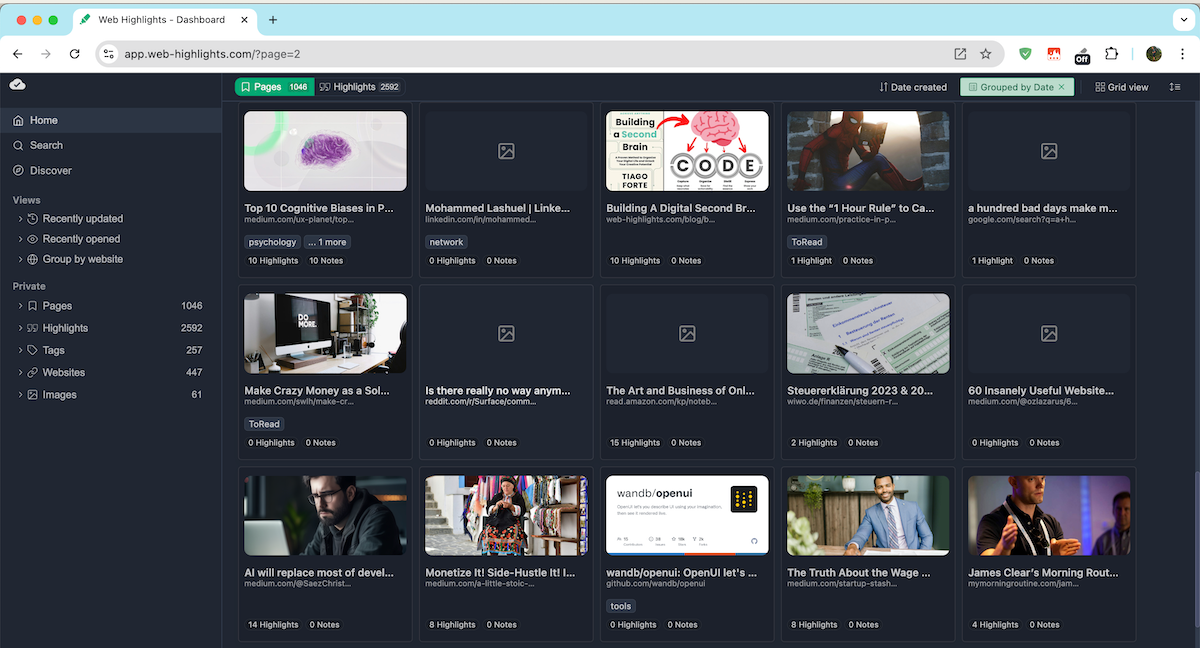
If you're using the web app, visit the dashboard to see all your imported highlights, pages, and notes.
Step 4: Visit Highlighted Pages
After importing your highlights, you can revisit the pages you previously highlighted using Diigo. Just select a highlighted page, visit it, and your highlights should appear.
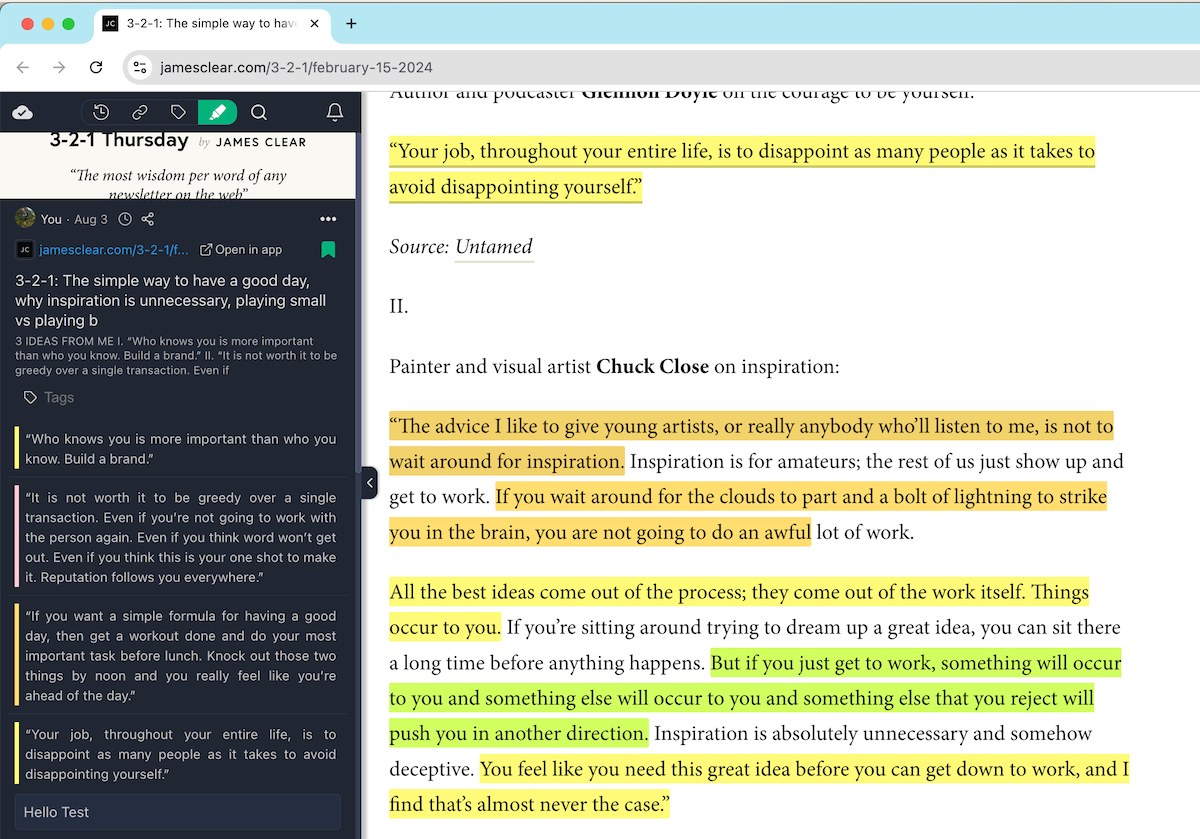
However, keep in mind that Web Highlights tries to recreate the highlights on the page, and this might not always work perfectly because Diigo uses a different highlighting method. Some highlights might not display correctly on the page, but they will always be accessible in the sidebar and the web app.
You can learn more about why highlights might not be recreated correctly here.
Final Thoughts
If you’re using Diigo but want a more modern highlighter, switching is simple. Just install the Web Highlights extension for Chrome, Edge, or Firefox, import all your Diigo research, and you’ll be all set.